Jump to content
LaunchBox Community Forums

9 Screenshots

About This File

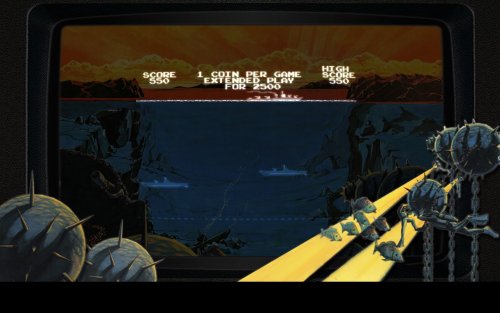
16:9 Bezel and overlay for Atari Destroyer.

Install: 

1) Unzip contents.

2) Drop the destroyr folder into your appropriate platform folder under rocketlauncher/media/bezels/[your platform]/

3) Drop the destroyr.zip file into your MAME/artwork folder.

4) Enable backdrops and overlays in your MAME machine under video options, and set view to "full" for the best experience.


The overlay/bezel is meant to be used with the V2.0 of the destroyer rom. The MAME artwork part of the bezel is only used to provide the blue overlay and backdrop for the game.

Credits to: Trevor Brown for his awesome artwork scans, and Derek Moore for the generic arcade bezel used in the composition of this overlay.


What's New in Version 1.0.6   See changelog

Released

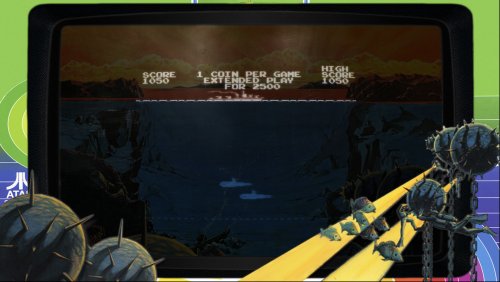
1.0.1: Added an alternative version of the destroyer bezel that includes a crt overlay and artwork from the adflyer for the bezel.

To install the alternative version simply unzip the contents of the destroyr_alt.zip into your appropriate platform folder under rocketlauncher/media/bezels/[your platform]/

*note: you still need the original version installed for the MAME overlay and backdrop to show, simply overwrite the rocketlauncher overlay with the alternative one.


1.0.2: Added Atari VCS/2600 overlay to the pack.

The Atari VCS/2600 overlay comes in two versions, one for rocketlauncher and one for use in retroarch. There are 4 alternatives to pick from; minimal badging with crt screen overlay, minimal badging without crt overlay, all badging with crt overlay and all badging without crt overlay. Each has it's own config file so no need to edit any files.

To use the retroarch version: Drop the contents of the retroarch folder in your "retroarch/overlays/" folder.

To use the rocketlauncher version: Drop the contents of the rocketlauncher folder into your "rocketlauncher/media/bezels/[your platform]/" folder.

I based my design of this bezel on orionsangel's design for the same system, as i felt this was simply the best layout for this system, but redid all the artwork from scratch to be more like the actual console.


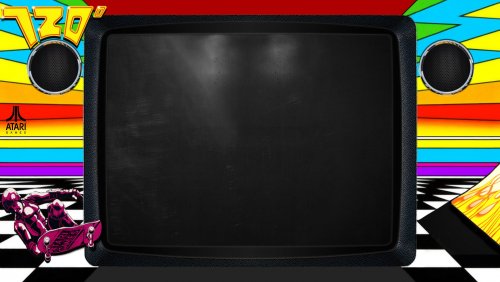
1.0.3: Added 720 degrees.

- Has two variants, one with the crt screen overlay and one without.

Install: Unzip to rlauncher folder/media/bezels/[yourplatform]


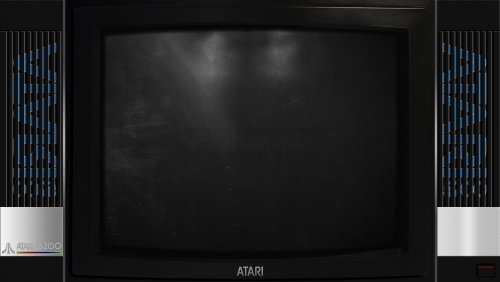
1.0.4: Added Atari 5200 overlay.

Also comes in two version and 4 alternatives.

- install instruction are identical to the Atari VCS/2600 bezel for both retroarch and rlauncher.


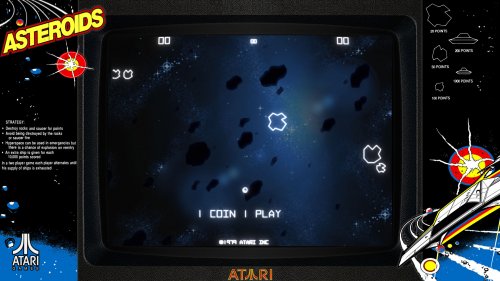
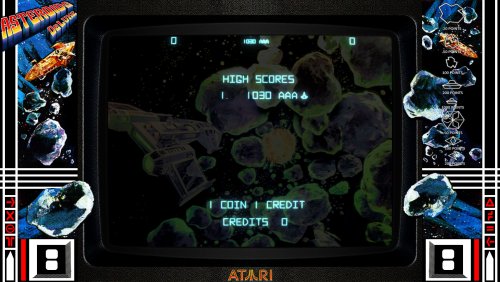
1.0.5: Added Asteroids and Asteroids Delux.

Bezel changed to match the other artwork in the pack, MAME overlay and backdrop added.

Install instruction are the same as the destroyer and other arcade bezels in the pack. Drop the folder in the zip in your Rlauncher platform folder and the zip file inside the zip in your MAME artwork folder. 

*note: artwork is meant to be used with the parent rom (for non merged sets), as it will not show up for clones. If you want it to show up for a clone you need to change the name of the folder and .zip file in the zip to the same name as your rom clone file.


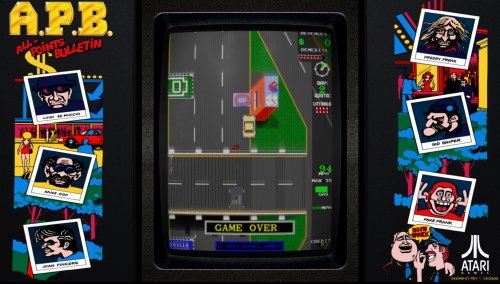
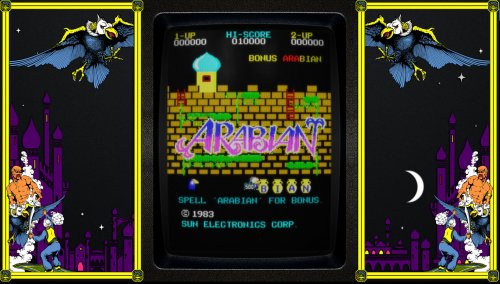
1.0.6: Added APB and Arabian bezels.

Install: Simply drop the contents of the .zip files into your platform folder under rocketlauncher/media/bezels/

  • Like 4
  • Thanks 1

User Feedback

Recommended Comments

This is pretty neat! I was able to replicate this (the original arcade version) in Retroarch with the images you included - I combined them in Photoshop and put the background opacity at about 40% which looks pretty good, and made a config to use it and tweak the video settings to the appropriate size:

Destroyer.zip

Destroyer.thumb.png.0a2d16f53d701f5f5f529c39251f9960.png

Link to comment
Share on other sites

Hey Zombeaver,

That's pretty sweet. I didn't think to include a retroarch version of this bezel as i pretty much use MAME exclusively for supported arcade machines. If you want my sourcefile for this bezel just let me know ;-)

Link to comment
Share on other sites

Nah it's okay, I think it's fine as-is. If you want to include the RA version in your download, you're welcome to do so. The path in the zip is where they need to be placed in RA. The rom needs to be named "destroyr.zip" for it to load automatically, otherwise destroyr.cfg needs to be renamed accordingly.

Link to comment
Share on other sites

Thanks, I'm planning to make a retroarch version of the pack once i'm done with it. The intention is to make a unified bezel pack for the Atari Classics playlist and the Atari consoles. Once i'm done with the Arcade side of the pack I'll do a retroarch version of all the bezels in it for those who don't use MAME and emulate through retroarch.

The downside is that you can't have color overlays in retroarch (can you?), and since a lot of these older Atari titles use color overlays I went with MAME primarily.

Link to comment
Share on other sites

Not in the same way I suppose, but that's something I would probably just do via transparency. If you wanted a layer of color adjustment, just add an additional layer under the foreground layer, fill it with the color you want, and then set the opacity to something like 30-40%. If you had a background layer underneath it, you'd want to set the blending mode to color and put the opacity at 100%, and set the background layer to an opacity of 30-40%.

Alternately, you could use something like the color-mangler.glsl shader to adjust the colors.

My normal SNES overlay:

59ca5290aa911_SNESNormalOverlay.thumb.jpg.477b867bd0362cd12be6eb7beffbd0c2.jpgAdding a 30% opacity red layer to it:
59ca542e7f1a9_SNESColorOverlay30.thumb.jpg.d0d9c0a1424a4d8b814e8280e48438a2.jpgAdding a 40% opacity red layer to it:

59ca52e982cc7_SNESColorOverlay.thumb.jpg.85ab792cd50e10d68dcac018d956351b.jpgI'm not sure if this is exactly what you had in mind, but it's something you might want to try.

Link to comment
Share on other sites

The main issue I had with the destroyer bezel was that either the blue overlay was too opace, drowning out the clarity of the game (i had to turn it up, which made the destroyer, which isn't under the layer, way too bright), or it ended up being too transparent, not quite having enough saturation to color the submarines.

Anyway, I appreciate the tips, I will give this another try and experiment with blending modes once I'm done with the rest of the pack.

Link to comment
Share on other sites

Join the conversation

You can post now and register later. If you have an account, sign in now to post with your account.

Guest
Unfortunately, your content contains terms that we do not allow. Please edit your content to remove the highlighted words below.
Add a comment...

×   Pasted as rich text.   Paste as plain text instead

  Only 75 emoji are allowed.

×   Your link has been automatically embedded.   Display as a link instead

×   Your previous content has been restored.   Clear editor

×   You cannot paste images directly. Upload or insert images from URL.

×
×
  • Create New...