Platform Bezels/Overlays
252 files
-
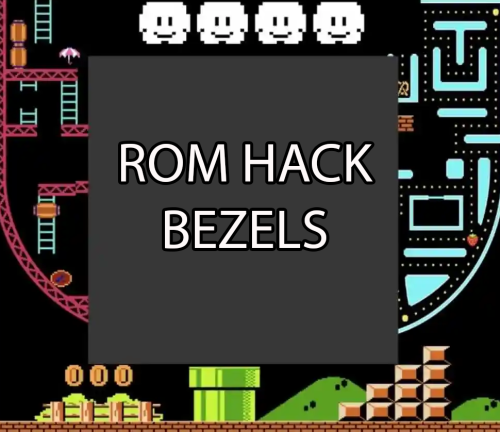
Rom Hack Bezel Pack (For Use With Retroarch) (Updated)
By DonellHD
Here Are My Bezels & .Cfg Files for my Rom Hacks for 81 games For NES, SNES, N64 & Genesis. Enjoy
79 downloads
- rom hack bezels
- bezels
- (and 2 more)
(0 reviews)0 comments
Updated
-
Matsu's 4K Bezels
By pickles83
I'm redoing all of the bezels of my favorites collection in Launchbox using artwork I've found everywhere while also using various techniques to upscale to 4k. Most of the artwork I've found is from Mr Do's site and arcadeartwork.org. Shout out to AlexDC22 for the Neo Geo bezels.
These are to be used with Duimon's Bezel Project MegaBezel integration using his instructions here:
https://github.com/Duimon/Duimon-Bezel-Project
Additional Screenshot Album
https://imgur.com/a/q35NtSo
New bezels will be updated periodically. Once enough are accumulated, I'll combine them into the master zip file.
8,850 downloads
-
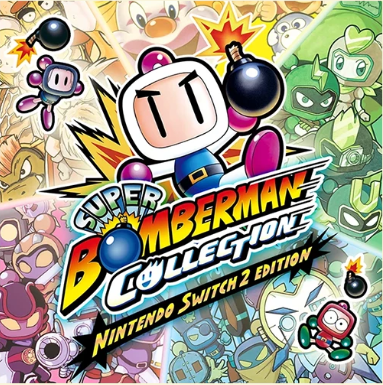
Super Bomberman Collection - Retroarch Overlays
By retrospace
This RetroArch overlay project was created directly from the internal files of Super Bomberman Collection.
Instead of simply taking inspiration from the visuals, I extracted the original graphic elements from the game itself (frames, backgrounds, and artwork), then processed and reorganized everything to work properly as a RetroArch overlay, while preserving 100% of the official visual identity.
28 downloads
(0 reviews)0 comments
Submitted
-
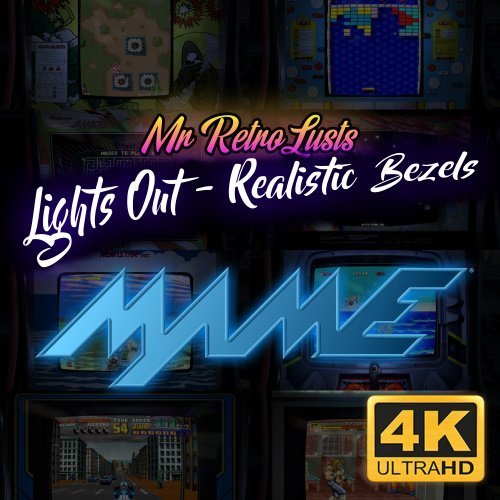
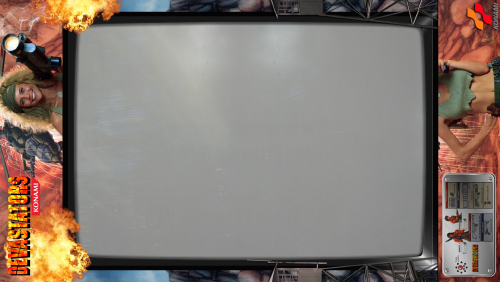
Mr. RetroLust's - Mame 4K - Lights Out - Realistic Bezels / Artwork
Note: This thread will not be pushed to the front in the "whats new" section, if you want notifications for future updates to this file be sure to follow this page by using the follow button in the upper right corner
Part of the "Lights Out - Realistic Bezels" series, for RetroArch bezels in this series see: https://forums.launchbox-app.com/files/file/1950-mr-retrolusts-lights-off-retroarch-bezels/
About:
NOTE: This original project uses a reflection and scratch layer to add a realistic effect, it defines the style of the project, this is not for everyone. But please don't request "a clean verion" as I haven't kept the layer formats for all these 2000 games, this project is what it is.
Realistic bezels in 3840x2160 resolution for MAME. My goal was to make bezels for around 1300 MAME games I had in my collection but I ended up making many bezels more.
I started this project in 2019 and finished it in 2026. I used existing high quality artwork but also cleaned a lot of previously unavailable artwork which @Mr. Do had in his amazing collection. I searched high and low with google images to find existing artwork, which took me to Japanese websites often using google translate and research to get to those obscure images. The quality isn't always as high but I made sure I always used the highest quality I could find.
Note: These artwork packs are made for older versions of Mame, if you use Mame 0.226 and upwards and find these files don't work right please see this post as you need to have them in a different lay structure:
==============
Installation:
Place the zip files inside the packs in mame/artwork/
Also be sure to curve the screen in Mame effects, you can use the preset files I've included in the downloads but they are for an older version of Mame (0.198) so they might not work on newer versions. To learn more about effects in Mame be sure to read this well: https://docs.mamedev.org/advanced/hlsl.html
==============
Credits:
Most of the artwork used are from the most excellent @Mr. Do & the many team members: http://mrdo.mameworld.info/index.php
For NeoGeo artwork much artwork came from: http://www.neogeosoft.com/
For Flyer artwork the amazing: https://flyers.arcade-museum.com/ and https://www.flyerfever.com/
Some artwork used from: https://www.verticalarcade.com/ which has amazing vertical bezels, be sure to pay them a visit.
Some artwork used from imbord3rlin3: https://www.arcade-projects.com/threads/high-resolution-scan-database-scans-as-a-free-service.24725/
Photos from Museum of the Game® & International Arcade Museum® https://forums.arcade-museum.com/
For research the great Arcade Database by: http://adb.arcadeitalia.net/
Special thanks to the following people, without them this project wouldn't be what it is: @ArsInvictus John Merrit, @Briball @cmgssilva @Orionsangel @Boz1978 @L4ZYD4NE @Manson976 UDb23 @IainSA TheGuru, Smitdogg, CAG, DrVectrex, tbombaci, italie, MAMEWorld, Ad_Enuff, UDb Raspbear, @destrowade @CKL @Thoggo @Antny @Dreamstate Andyaust @zugswang Spinnhacker, CCF Gameplay, jkburks, Comboman, Tim Lindquist, TrevEB, Aaron Giles, Jumpman1981, @kloug666, Tormod, yaggy, @NightVoice, Dillweed, @NeoKarnage, Vaughan, Zorg, Divemaster, Ad_Enuff, ranger lennier, Kiltron, @damageinc86, AntoPISA
74,223 downloads
-
ultimate mortal kombat shaolin monks Ultimate Mortal Kombat Shaolin Monks [Mod by RelaxDirk] - Bezel
By Kaneco
Made some presentation media for the EmulationStation & all of the forks that use some form of it Frontend as well as Launchbox, and wanted to share this with others for this cool mod.
Also submitted to the side Box 3D art, marquee, and other media stuff.
This is for the new Ultimate Mortal Kombat Shaolin Monks Mod/Romhack by RelaxDirk that recently released.
Release Trailer:
Ultimate Mortal Kombat Shaolin Monks V.2 Trailer
Cheers! 👍
Media:
Ultimate Mortal Kombat Shaolin Monks V.2-video.mp4505 downloads
- mortal kombat
- mk
- (and 2 more)
-
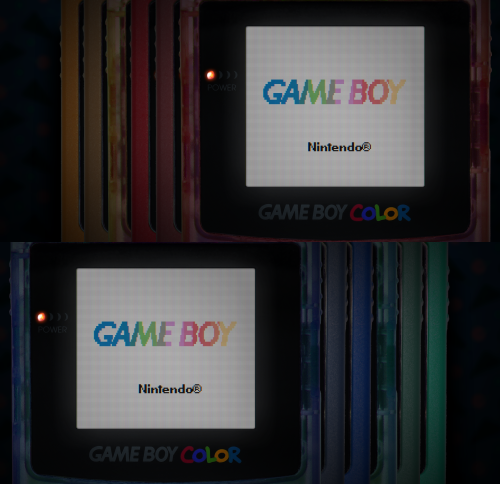
Mo' Colors for your Game Boy Color - Lights Out! Retroarch Bezels
By d66dle
I have edited some alternate colors to go along with Mr. RetroLust's platform bezels for Retroarch (specifically the GBC ones), which you can find here:
I liked the idea of having different colored GBC bezels per game, so I added a bunch of basic colors not present in the original variants. This includes new flat and transparent colors, de-saturated versions, and a simple black one... totaling to 27 new overlays. Because why not.
You can use the save game override option in Retroarch to save the bezel per game, and/or you can pick one to use by default for your GBC core, using the save core override option.
The files are in the folder structure: overlays/_MR.RETROLUST, so you can simply drop overlays into your Retroarch directory.
GIMP .xcf file is also included separately for convenience.
┏(^0^)┛
CREDITS: Mr. RetroLust for the original overlays!
69 downloads
(0 reviews)0 comments
Submitted
-
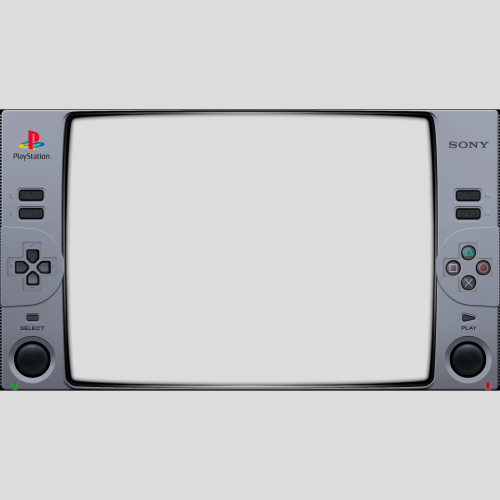
Classic PS1 Overlays for Duckstation
What I have here is a small collection of Duckstation overlays/bezels that I find appealing to look at while playing my PS1 games.
Place all files inside your overlays folder and they should show up in your overlays selection in the "post-processing" section in the Duckstation settings.
***IMPORTANT NOTE*** If your trying to add the files from this download to your Android device, you'll probably need to do it by using your PC connected to your Android device via USB C cable. You'll need to access the
"[storage]/Android/data/com.github.stenzek.duckstation/files/resources/overlays" file path from your PC and place the files in there. That's the only way I know of to bypass the Android protected system folders.
All credit for the "PS1_Overlay" should go to the original creator of the overlay, Fercho. Thanks to him I was able to use his animated overlay he created for the Retroarch and make a static image for this overlay.
This is his original animated overlay for the PS1 - Retroarch: https://forums.launchbox-app.com/files/file/3477-playstation-1-animated-overlay-for-retroarch/
FYI, I personally am using the "PS1_Overlay" with the "ntsc/ntsc-adaptive-lite" and "CRTLottes2" shaders and it looks amazing with those two and fits perfectly.
The "PSonereflections" image I got from Retroarch's overlays and created the .yml file needed by Duckstation to use.
The other two I found on a reddit post by "danytyler" and created the .yml file for both of those as well.
I take no credit for actually making the .png files, I only want to share these overlays for the people using the Duckstation emulator since there are very few pre-made overlays for the platform.
I personally think the "ntsc/ntsc-adaptive-lite" shader looks best with all four overlays because it adds the fuzzy glow old CRT TVs use to produce, but if your going to add a CRT shader that adds scanlines to it, I would go with the "dolphinfx/crt/CRT-Hyllian" for the "PSonereflections" overlay. As for the other three, the "CRT-NewPixie" or "CRTLottes2" adds a curvature to better fit those overlays. These are just my personal suggestions because they are pre-installed into Duckstation when you download it.
Enjoy!
1,058 downloads
-

4 bezels +1 alternate
By ScissorShiv
Bezels for:
Postal / Paprium / Xenophobe (2 versions) / Ducktales
Cheers!
83 downloads
(0 reviews)0 comments
Submitted
-
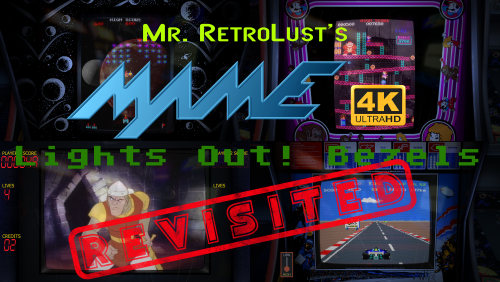
Mr. RetroLust's MAME Lights Out Bezels Revisited
By kloug666
LIGHTS OUT! BEZELS UPDATED TO THE NEWEST MAME CODE
Mr. RetroLust created a series of bezels which is a masterpiece :
Yet as he uses a rather old version of MAME, some of those bezels are not compatible with the latest releases which use a redesigned artwork system (MAME 0.226 onwards).
As I intend to continue to enjoy his creations in optimal conditions, I have undertaken to update all the lay files and to correct recent incompatibilities.
The original project uses a reflection and scratch layer to add a realistic effect which defines its style.
You will find here the complete arcade 4K widescreen collection updated to the most recent lay code and expanded in various ways.
Mainly based on the version 17.0 of the original collection :
I’ve updated/edited all the lay files.
Renamed files in sync with latest MAME release (0.281 at the time of this writing).
Merged some archives to avoid any conflict with the classic artworks of Mr. Do and progetto-SNAPS.
Converted and integrated some of Mr. RetroLust's non-MAME specific arworks*.
Added Xeno Crisis bezel by Layer0730.
Added blue MAME cab bezel by d66dle.
Added some new artworks in the same style (Ex: Darius II Dual-Screen).
Replaced most of the screen overlays based on pics with lay-coded ones according to the latest MAME sources (ex : Circus).
Corrected some MAME artwork display known bugs (ex : Dead Eye).
Added switchable gear shift for racing games when possible (ex : Pole Position).
Added optional custom enhancements (ex : Galaga).
Added color variations (ex : Barricade).
Added BIOS specific bezels (ex : Deco Cassette System).
Added generic horizontal and vertical bezels to use as fallback art files for every game missing individual artwork.
Included a folder INI file to display a list of all games of the collection.
If you spot a bug, or a game I forgot to add a gear shift, please indicate it in the comments, I will try to rectify it ASAP.
* : Converted for MAME and upscaled to 4K some artworks from HD Lights Out! Retroarch Bezels 8.5.
Converted for MAME the Sammy Atomiswave 4K Lights Out! Realistic Bezels 1.0.0.
Converted for MAME the Sega Naomi 4K Lights Out! Realistic Retroarch Bezels 1.3.
INSTALLATION
Easy 'n' dirty way (not recommended) :
Unzip all LightsOutRevisited0-Z archives in MAME/ARTWORK/
Install updates one after the other, just unzip and replace all files when asked.
Put horizontal and vertical INIs in the root folder of your MAME installation or in MAME/INI/PRESETS/
Advanced 'n' clean way :
Use the provided DAT to rebuild the collection with Clrmamepro, Romcenter or your favorite ROMs manager.
Place the resulting ZIP files in MAME/ARTWORK/
Put horizontal and vertical INIs in the root folder of your MAME installation or in MAME/INI/PRESETS/
It is ESSENTIAL to use the included horizontal and vertical INIs to make the generic fallback bezels work.
Optional :
Put vector, vector-mono and raster INIs in the root folder of your MAME installation or in MAME/INI/PRESETS/
Put Lights Out Bezels Revisited INI in MAME/FOLDERS/
The FOLDERS INI file is entirely optional.
The vector and the vector-mono INIs are highly recommended but not essential.
The raster INI is ONLY to be used if you use the D3D HLSL graphics mode.
I personally use the BGFX graphics mode for the rasters and the fantastic ArcCabView
shader from Ducon2016 and Houb (included in UPDATE TO LIGHTS OUT 10.0 - MAME 0.276).
Let's play !
All hails to Mr. RetroLust for the incredible work that he made with his original bezels.
Special thanks to the following people who directly or indirectly inspired and/or helped me with this project : AntoPISA, d66dle, Ducon2016, Houb, Layer0730, Mr. Do, numerous members from MAMEWorld, Starman99x, Vaughan and Widge-5.
After downloading and testing the release, if you enjoyed it, please come back and react by reviewing or liking the page.
It will take you just a few seconds and help me give visibility to this project.
39,240 downloads
-
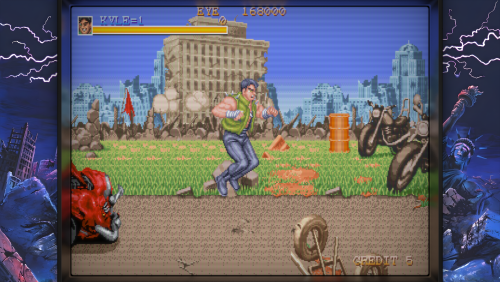
Overlay + Shader para o jogo Paprium (MD)
By Felippe Luna
Olá Retro games, tudo bem?
Faz um tempo que não pareço por aqui. Recentemente, foi lançado o jogo Paprium para emulação através do Retroarch. Visto isso, resolvi criar uma Overlay temática do jogo e aplicar um shader com minhas configurações. Tanto para usar em monitores planos como curvos.
Espero que gostem e divirtam-se!
73 downloads
-
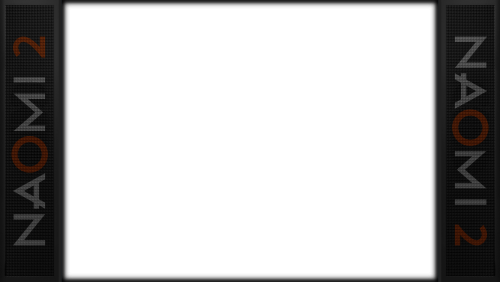
Arcade System Board Bezels
By spycat
A collection of 1920 x 1080 bezels for various arcade system boards, plus some misc ones - emulators and so on.
Backgrounds derived from the Standard Classic CRT. With thanks to Exodus for the original.
Logos, in the main, are courtesy of @Dan Patrick and @Gill Figno. A big thank you to you both for your excellent logos and for your kind permission to use them to make the overlays used for the bezels.
ASB_Bezels.zip
Contains 77 bezels plus the background template, and 77 logo overlays.
Bezels come in two styles, with and without a curved frame inset.
Meow!
238 downloads
(0 reviews)0 comments
Submitted
-
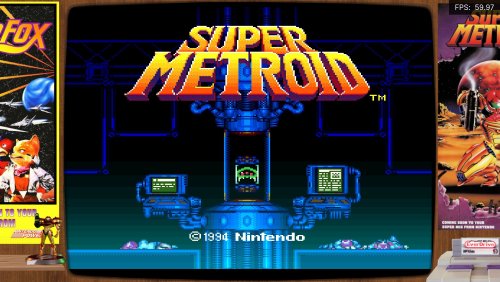
Game Room style Bezels for Retroarch
By Maul83
Here are some Bezels I made that I really like.
I made them awhile ago, but up until now I was having graphical glitches I didn't know how to fix, but I finally did so I'm uploading them.
To fix it, make sure you run Retroarch with Glcore not vulkan or dx11.
The wooden wall background I grabbed off another Bezel from around here, but like I said it was a while ago so I forgot the name. Credit to that person for the wood grain and TV out cropping. I added the posters, systems and figures.
Enjoy.
64 downloads
(0 reviews)0 comments
Submitted
-
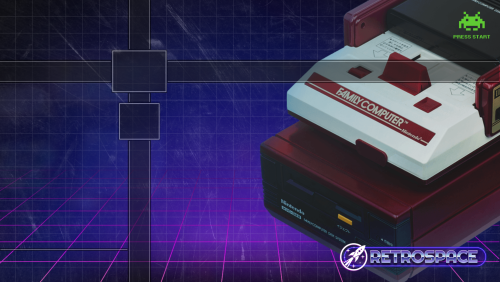
Dynamic wallpaper - RETROARCH - RETROSPACE Modern Pack
By retrospace
Hi Guys, I would like to share my Dynamic wallpaper - RETROARCH - RETROSPACE Modern Pack that I created for use on the Nintendo Switch. It can also be used on other platforms where Retroarch is accepted. Hope you like it
Special thanks to @viking and @niglurion to share they media to us, then I can create these Dynamic Wallpaper and share with you Guys.
148 downloads
- retropspaceos
- dynamic wallpaper
- (and 2 more)
-
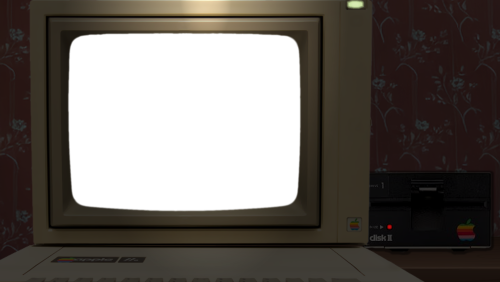
Apple II bezel.png
By sbslc2017
I was disappointed that Mr Retrolust's excellent overlay pack didn't include an overlay for the influential Apple IIe computer. So I tried to make my own. My photoshop skills are amateur, but I think this is a passable first attempt. Would love some feedback on how to improve this.
23 downloads
-
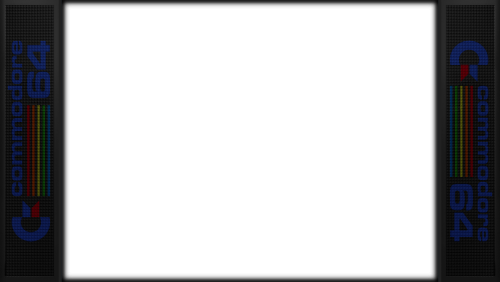
Home Computer and Console Platform Bezels
By spycat
A collection of 1920 x 1080 platform bezels for horizontal game systems.
Backgrounds derived from the Standard Classic CRT. With thanks to Exodus for the original.
Platform logos are courtesy of @Dan Patrick and @Gill Figno. A big thank you to you both for your excellent logos and for your kind permission to use them to make the bezels.
The download consists of two separate zips - Bezels.zip for general use, and MAME_Art.zip which is solely for MAME use.
Bezels.zip
Contains 153 platform bezels plus the background template, and 153 RetroArch cfgs.
Bezels come in two styles, with and without a curved frame inset.
MAME_Art.zip
Contains 128 artwork zips in two bezel styles, suitable for MAME only.
See info.txt in each download.
Meow!
387 downloads
-
 (0 reviews)
0 comments
Submitted
-
 (0 reviews)
0 comments
Submitted
-
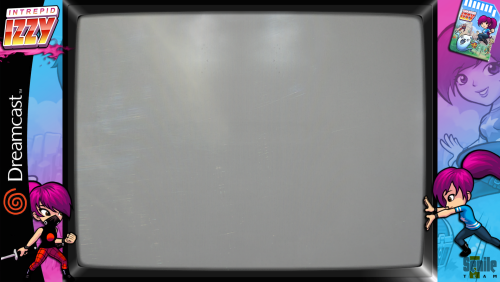
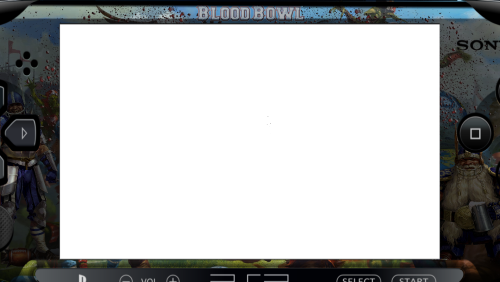
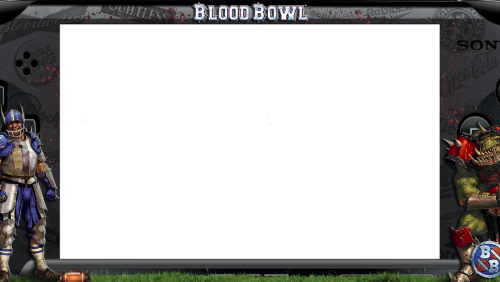
Bezel/ Overlays for some new games on old consoles (5-pack)
By ScissorShiv
Intrepid Izzy (Dreamcast)
Tanglewood (Sega Genesis/ Megadrive)
Tanzer (Sega Genesis/ Megadrive)
Ultracore (Sega Genesis/ Megadrive)
Textorcist (Dreamcast)
Cheers!
55 downloads
(0 reviews)0 comments
Submitted
-
Vertical Arcade Bezel 9-Pack
By ScissorShiv
These bezels are designed for playing vertical arcade games. The game will need to be displayed in a vertical format and your screen will need to be rotated 90 degrees. It's not for everyone; however IMO if you can swing it, it is the best way to play these vert games.
Cheers!
136 downloads
(0 reviews)0 comments
Submitted
-
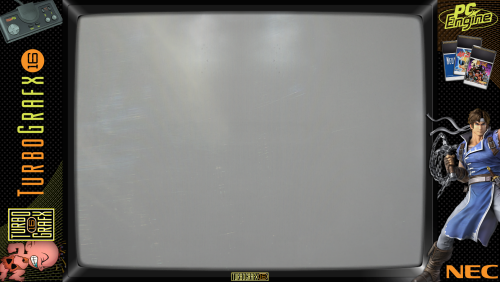
Generic Console Overlays (7-pack)
By ScissorShiv
7 overlays that are console specific and not game specific.
Turbo Grafx-16/ PC Engine
Snes
Sega Genesis/ Megadrive
Neo-Geo
NES
Dreamcast
PSX
Cheers!
428 downloads
(0 reviews)0 comments
Submitted
-
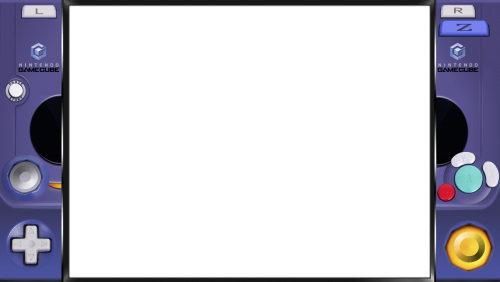
Nintendo Gamecube Bezels/Overlays
By andersonlino
Nintendo Gamecube Bezels/Overlays Animated Animated to Retroarch
Resolution 2560x1440
only tested in fullscreen.
The imagens was not mine, i just edited and did any imagens i needed.
My configs using dolphin:
aspect_ratio_index = "23"
custom_viewport_height = "1040"
custom_viewport_width = "1380"
custom_viewport_x = "270"
custom_viewport_y = "20"
will the files config if want use it.
216 downloads
(0 reviews)0 comments
Updated
-
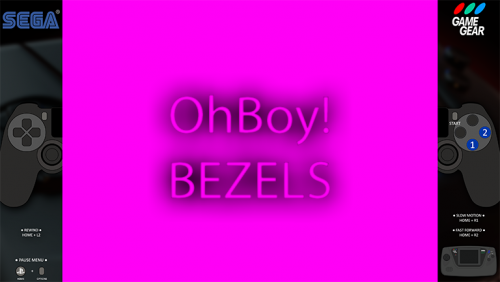
OhBoy! 4K Bezels
By OhBoy
OhBoy! Bezels! These bezels come in Xbox and DualShock 4 versions, and were designed to match OhBoy! Pause images found here:
You are free to use and modify these files to use in your own uncommercial purposes. Please do don’t use these for commercial purposes.
Enjoy!
415 downloads
(0 reviews)0 comments
Updated
-

3DO Interactive Bezels/Overlays
By andersonlino
3DO Interactive Bezels/Overlays Animated Animated to Retroarch
Resolution 2560x1440
only tested in fullscreen.
The imagens was not mine, i just edited and did any imagens i needed.
My configs:
aspect_ratio_index = "23"
custom_viewport_height = "1116"
custom_viewport_width = "1540"
custom_viewport_x = "174"
will the files config if want use it.
82 downloads
(0 reviews)0 comments
Submitted
-

Nintendo DS Overlay Animated
By andersonlino
Nintendo DS Overlay Animated Animated to Retroarch
Resolution 1920x1080
only tested in fullscreen.
The imagens was not mine, i just edited and did any imagens i needed.
To use in video scale:
nintendo_ds_animated:
config de núcleo = Screen = Screen Layout = Top/Bottom
Dimensionar com valores inteiros = Desligado
proporção de tela = Core previded
nintendo_ds_bigsmall_animated:
config de núcleo = Screen = Screen Layout = Hybid/Top
custom_viewport_height = "928"
custom_viewport_width = "1871"
custom_viewport_x = "26"
custom_viewport_y = "78"
1,966 downloads
-
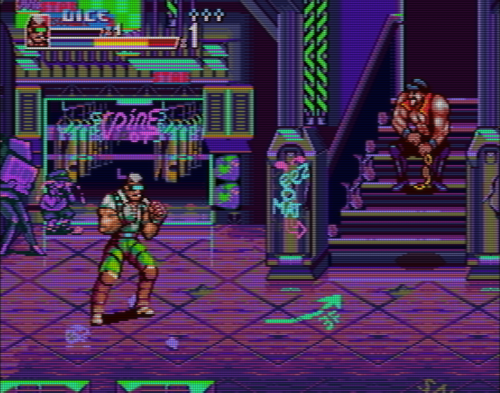
Alternative Frame for ArcCabView BGFX + how to configure your own frame
By d66dle
For the purpose of bezel reflection in MAME, ArcCabView is a GODSEND, but I always thought the frame was too thin and too light when using Lights Out bezels.... so I made a wider darker one! The screenshots showcase the frame using different bezels.
artwork and bgfx folders go into your MAME directory, overwriting two files: ArcCabView.json and frame.png
(⌐⊙_⊙) How to use your own custom frame so it lines up properly with the game screen (using the default ArcCabView preset):
0. If not already installed, download ArcCabView_MAME_BGFX_Chain_2.2d and extract into your MAME directory
(probably backup artwork/bgfx and bgfx folders in case you want to revert changes)
1. replace frame.png located in mame/artwork/bgfx/chains/ArcCabView with your custom image
2. load up a game in MAME, then press `/~ (onscreen display hotkey) and adjust Frame Size X, Frame Size Y, and Corner Size so the game screen fits the frame to your liking.
3. Exit game, and open the .cfg file for that rom in mame/cfg
4. Also open the ArcCabView.json file in mame/bgfx/chains/ArcCabView
5. find the adjusted values in the .cfg file and copy them into the .json file.
The values in question are highlighted in the image below:
6. Save the .json file.
6½: Optionally, repeat steps 1-6 until satisfied...
7. ಠ_ರೃ P R O F I T.
I don't see a lot of mentioning of ArcCabView here, so maybe some MAME users will find it to be a decent (or more subtle) alternative to Mega Bezel Shaders for Retroarch, which I use for other platforms anyways. I'm just very attached to MAME for arcade...
92 downloads
- arccabview
- mame
- (and 6 more)
(0 reviews)0 comments
Submitted


.thumb.png.d8248f4f7e6ac686eebb9c1c4d1c451a.png)
(Disc1)(KeyDisc)(SegaCD).thumb.png.f871615d9008153c8073315db041de44.png)
.thumb.png.632d19a4f33f16491745f891e0ea495b.png)


