Jump to content
LaunchBox Community Forums

Mr. RetroLust's Lights Out! Retroarch Bezels 8.5

   (11 reviews)

89 Screenshots

About This File

Note: This thread will not be pushed to the front in the "whats new" section, if you want notifications for future updates to this file be sure to follow this page by using the follow button in the upper right corner

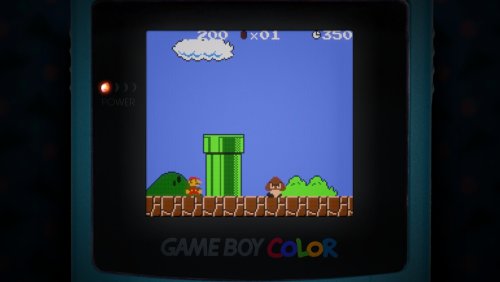
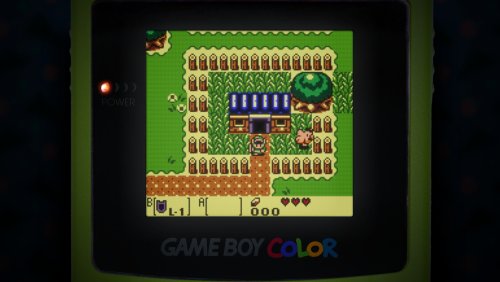
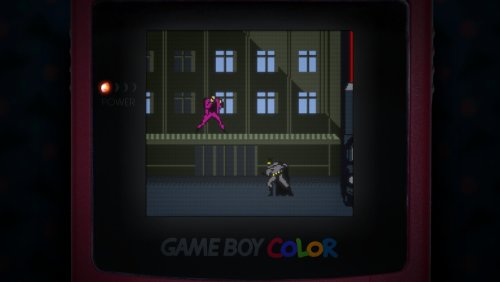
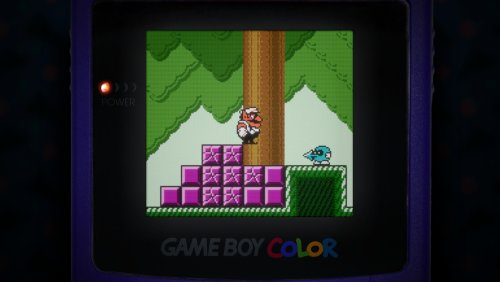
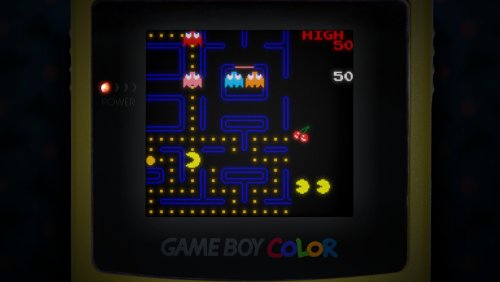
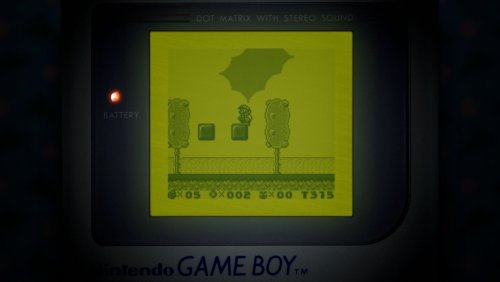
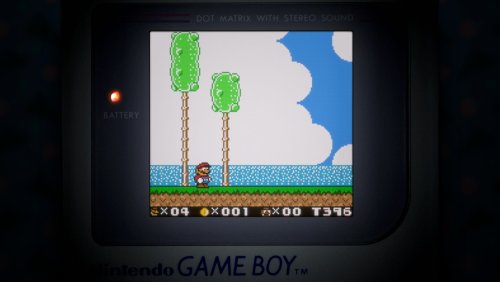
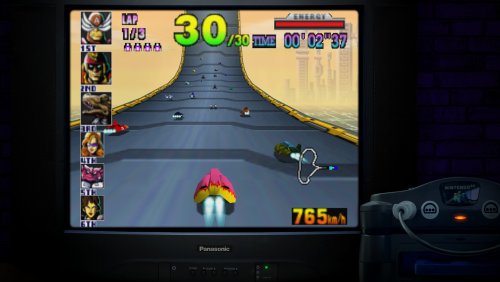
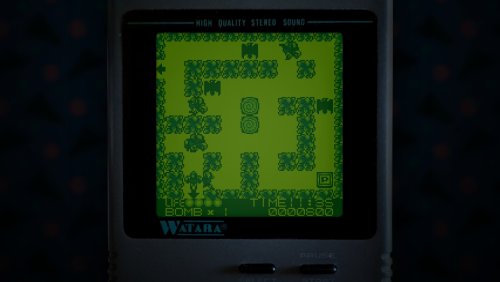
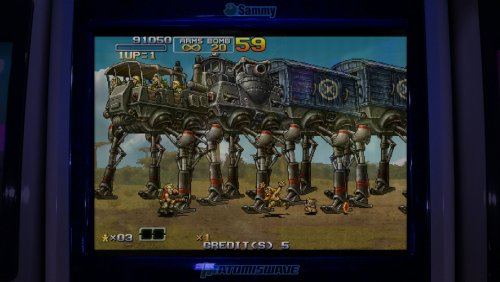
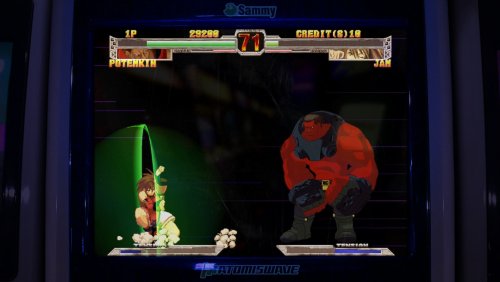
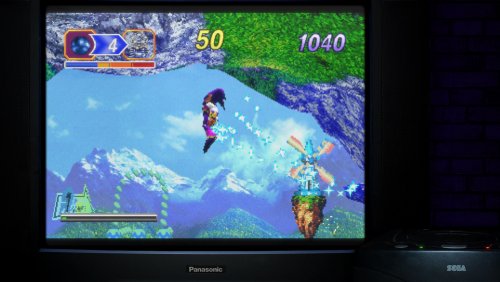
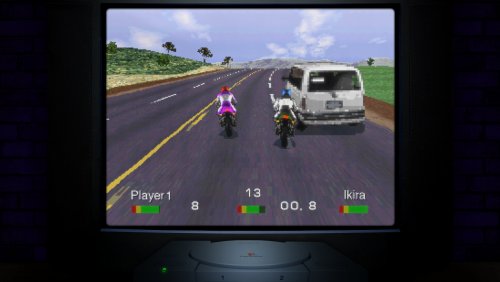
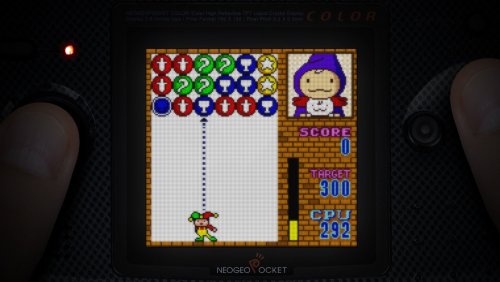
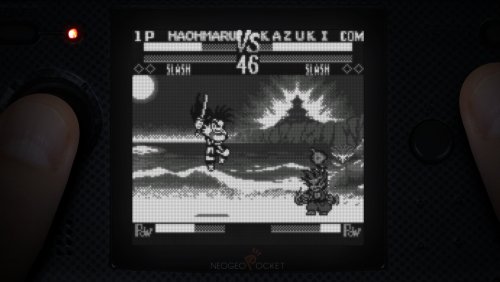
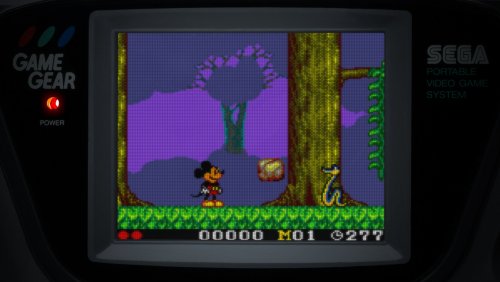
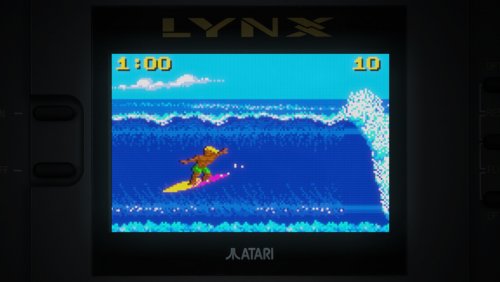
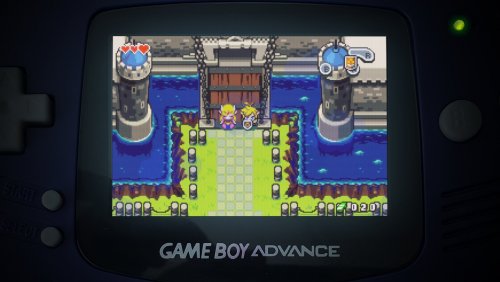
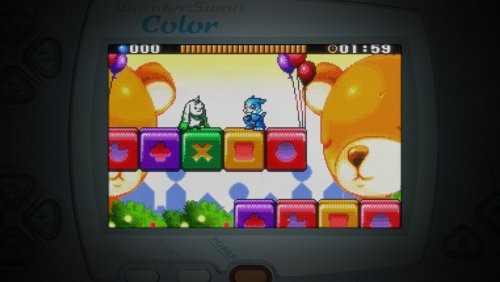
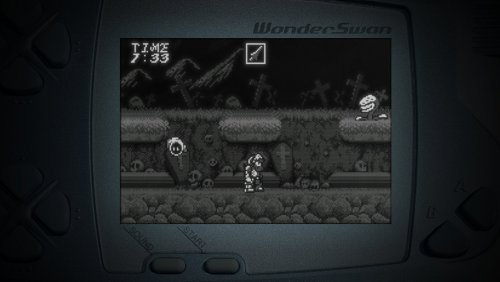
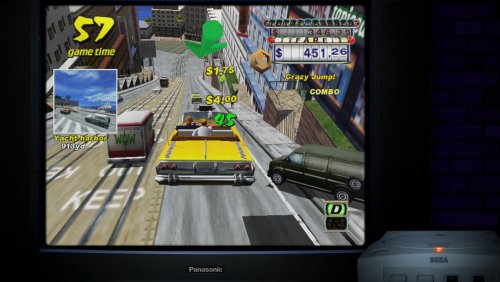
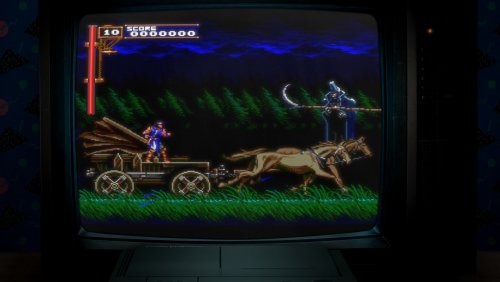
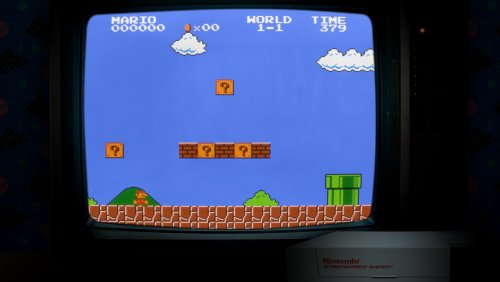
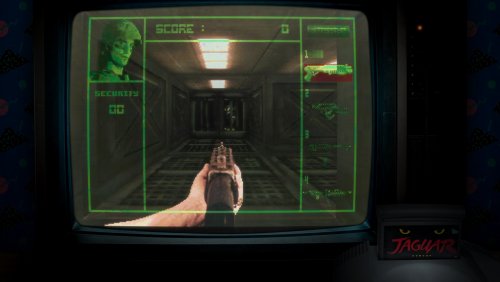
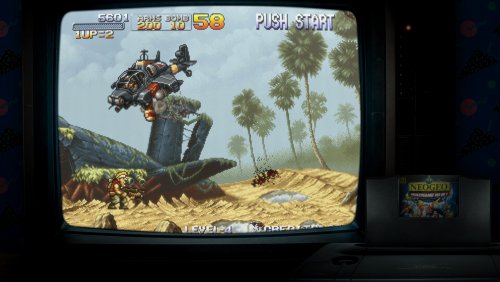
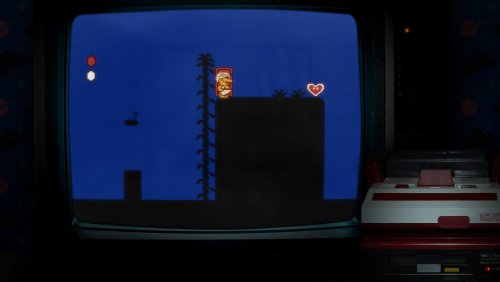
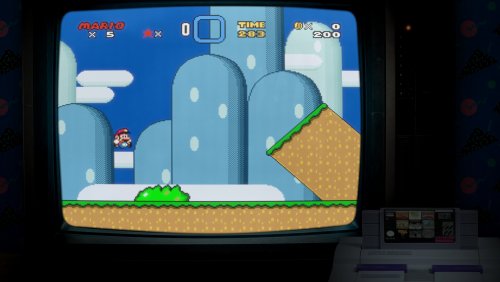
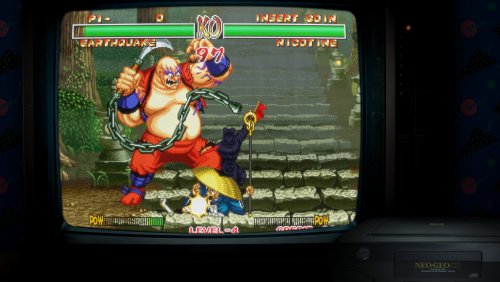
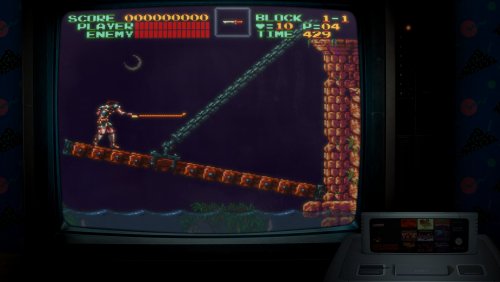
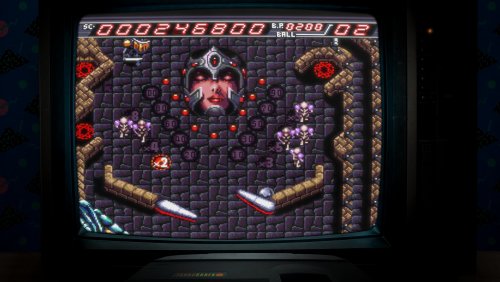
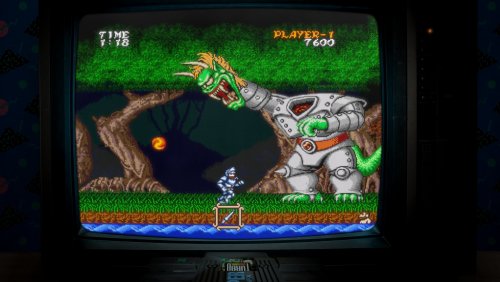
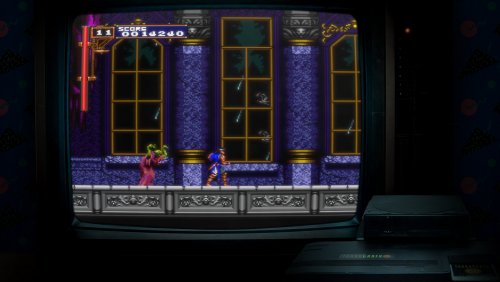
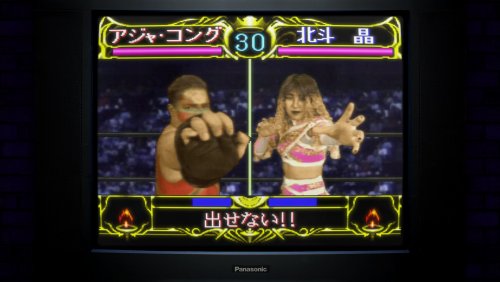
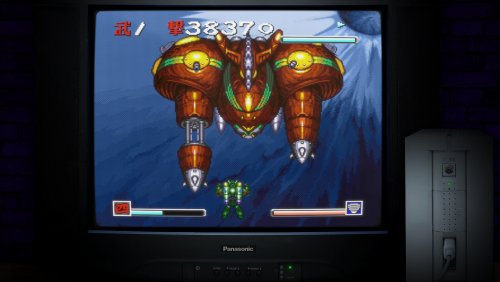
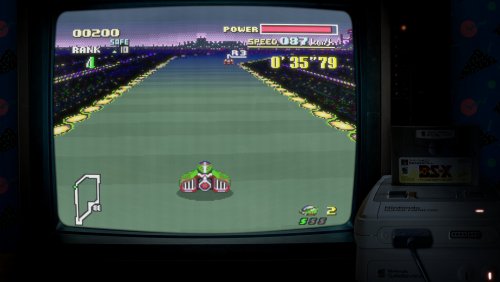
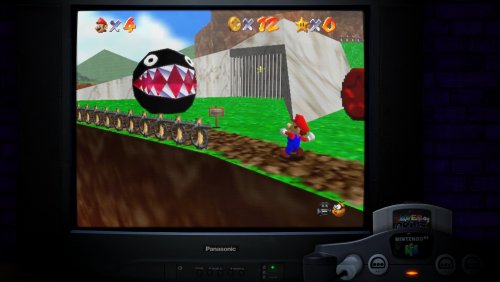
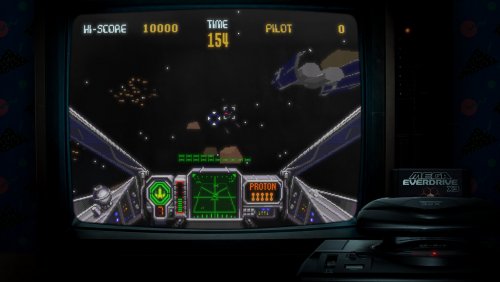
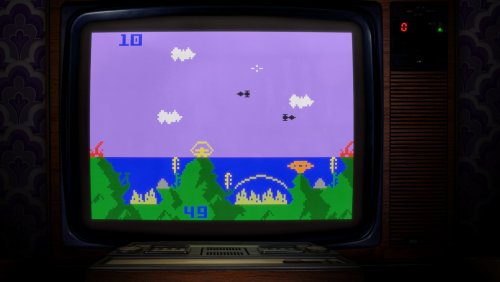
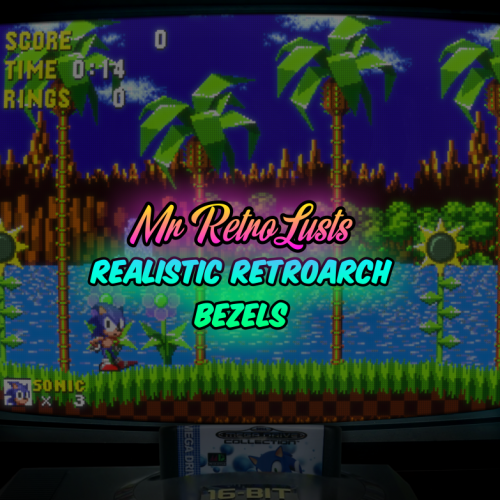
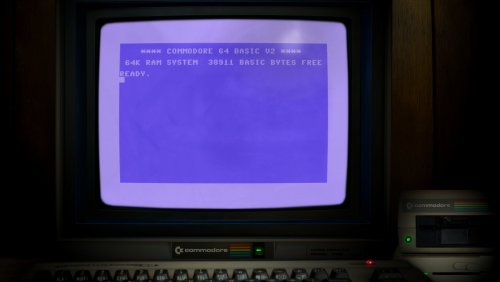
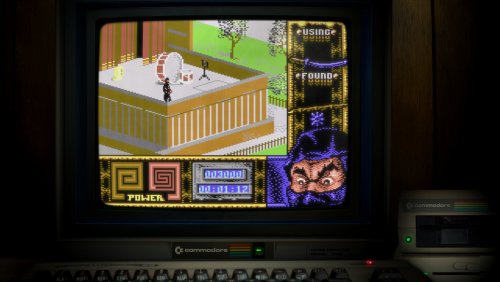
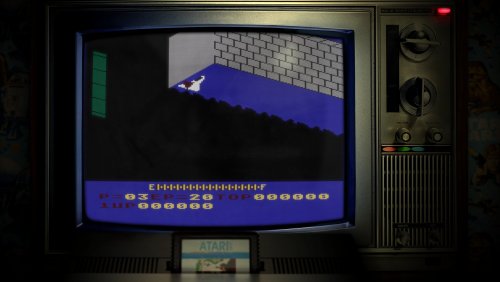
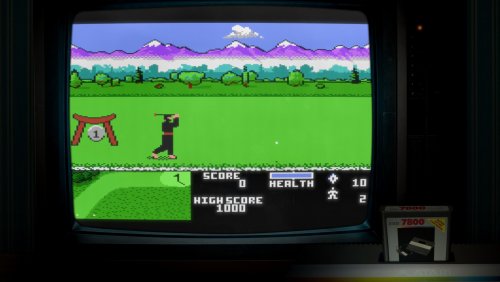
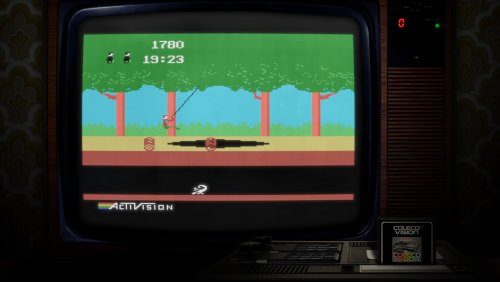
Here's my collection of Lights Out! Realistic Retroarch bezels. 

You can find other bezels that are part of my "Lights Out!" series over here:

Neo Geo v2 4K - Lights Out - Realistic Retroarch Bezels

Capcom Play System I 4K - Lights Out - Realistic Retroarch Bezels

Capcom Play System II 4K - Lights Out - Realistic Retroarch Bezels

Capcom Play System III 4K - Lights Out - Realistic Retroarch Bezels

Sega Naomi 4K - Lights Out - Realistic Retroarch Bezels

Mame 4K - Lights Out - Realistic Bezels

Sammy Atomiswave 4K - Lights Out - Realistic Bezels

Enjoy!

Bezel_Atari_2600_Night_Mr_RetroLust.PNG

Bezel_Mega_Drive_Mr_RetroLust.PNG

Edited by Mr. RetroLust


What's New in Version 8.5   See changelog

Released

- Added all bezels/overlays in one zip file (including the 2 generic bezels uploaded earlier today). This concludes the project to finished, have fun! :)


  • Like 37
  • Thanks 15
  • Game On 4
  • Unusual Gem 4

User Feedback

Recommended Comments


Amazing work.. looks great!!!! Thanks.

Request: Could you make one with Atari ST monitor bezel up close using most of screen, in normal light? (no computer)

Thanks

Edited by Wilson2B
  • Thanks 1
Link to comment
Share on other sites

I really love this amazing bezels, but i am unable to find the screen size and position configuration under the video settings menu in retroarch 1.15.0

  • Thanks 1
Link to comment
Share on other sites

8 hours ago, Tarik said:

I really love this amazing bezels, but i am unable to find the screen size and position configuration under the video settings menu in retroarch 1.15.0

Thanks, glad you like. At 2.25 below you'll see what you need to adjust: Aspect Ratio set to Custom and then set Custom Aspect Ratio X and Y position plus Custom Aspect Ratio Width and Height.


  • Thanks 1
Link to comment
Share on other sites

9 hours ago, Mr. RetroLust said:

Thanks, glad you like. At 2.25 below you'll see what you need to adjust: Aspect Ratio set to Custom and then set Custom Aspect Ratio X and Y position plus Custom Aspect Ratio Width and Height.


Hello Mr. Retrolust, thank you for your response 😃
I am completely new to emulators and retroarch interface is really hard for beginners.
I managed to set the ratio properly and it looks amazing!

Best regards.

  • Game On 1
Link to comment
Share on other sites

35 minutes ago, Tarik said:

Hello Mr. Retrolust, thank you for your response 😃
I am completely new to emulators and retroarch interface is really hard for beginners.
I managed to set the ratio properly and it looks amazing!

Best regards.

Good to hear man, have fun :)

  • Like 1
Link to comment
Share on other sites

Hey Mr. Retrolust, your work is amazing! Congrats and thanks!

But is it possible for you to make a Nintendo DS version without the black screen in the middle? I wanted to make a gap like the real DS.

  • Thanks 1
Link to comment
Share on other sites

Just wanted to echo the comments over the months and years and say thank you so much for these amazing overlays!! They really do bring the consoles to life :) 

  • Thanks 1
Link to comment
Share on other sites

57 minutes ago, ThaKingRa444 said:

Hi I am new to adding these bezels to Launchbox/Retroarch. Can someone please tell me how to get these working through Launchbox?

I'm not sure what others do but in LaunchBox I select Tools > Manage > Emulators > RetroArch > Associated Platforms, then for each platform in the "Extra Command-Line Parameters" text boxes I input:

-f --appendconfig "location_of_your_overlay.cfg" --set-shader "location_of_your_shader.slangp"

The overlay is the Mr. RetroLust config file (although for some reason I had to play with the x/y/w/h co-ords of each one to get the emulated screen to fit inside the TV image - I'm sure it's something I'd done wrong) and in the default RetroArch config file I had to add: config_save_on_exit = "false" so that all the above appendconfig didn't spam your config file. The shader is your choice of shader if you want one - the RetroArch defaults are plenty for my personal preferences.

Link to comment
Share on other sites


1 hour ago, ThaKingRa444 said:

Hi I am new to adding these bezels to Launchbox/Retroarch. Can someone please tell me how to get these working through Launchbox?

 You néed to place the bezels in retroarch's  "overlays" folder. They should come with a png file (the bezel or overlay) and a cfg file (config) , put both in here. 

Then boot up retroarch, launch a game, open the RetroArch menu and navigate to "overlays".

  Turn overlays "on" then select the bezel for the system or game you are running, save this as for either your game or core (System) as desired. You also might need to adjust your screen scaling and position to fit properly.  


As long as you've saved the overlays correctly, they will be applied by retroarch when you boot the game via launchbox. 

If you want an authentic crt screen look you'll need to apply a "shader" something like "crt geom" will give the screen a slight curvature and scan lines.  Once again do this in retro arch's menu and save as core override. That way every game on that core (System) will use it. 

  There are many youtube tutorials that would explain this better than I have though!  

 If your new to this, it's a bit confusing, retroarch takes some getting used to but it's really not as complex as it first seems. Try some video tutorials. 

Edited by Djronz
Link to comment
Share on other sites

1 hour ago, EvoluZion3 said:

I'm not sure what others do but in LaunchBox I select Tools > Manage > Emulators > RetroArch > Associated Platforms, then for each platform in the "Extra Command-Line Parameters" text boxes I input:

-f --appendconfig "location_of_your_overlay.cfg" --set-shader "location_of_your_shader.slangp"

The overlay is the Mr. RetroLust config file (although for some reason I had to play with the x/y/w/h co-ords of each one to get the emulated screen to fit inside the TV image - I'm sure it's something I'd done wrong) and in the default RetroArch config file I had to add: config_save_on_exit = "false" so that all the above appendconfig didn't spam your config file. The shader is your choice of shader if you want one - the RetroArch defaults are plenty for my personal preferences.


1 hour ago, Djronz said:


 You néed to place the bezels in retroarch's  "overlays" folder. They should come with a png file (the bezel or overlay) and a cfg file (config) , put both in here. 

Then boot up retroarch, launch a game, open the RetroArch menu and navigate to "overlays".

  Turn overlays "on" then select the bezel for the system or game you are running, save this as for either your game or core (System) as desired. You also might need to adjust your screen scaling and position to fit properly.  


As long as you've saved the overlays correctly, they will be applied by retroarch when you boot the game via launchbox. 

If you want an authentic crt screen look you'll need to apply a "shader" something like "crt geom" will give the screen a slight curvature and scan lines.  Once again do this in retro arch's menu and save as core override. That way every game on that core (System) will use it. 

  There are many youtube tutorials that would explain this better than I have though!  

 If your new to this, it's a bit confusing, retroarch takes some getting used to but it's really not as complex as it first seems. Try some video tutorials. 


Thank you guys I appreciate the help I got it working now. Only problem I have now is getting RetroLusts shader presets working. For some reason retroarch isn't allowing me to select them.

Link to comment
Share on other sites

What shader does he use?  Some shaders are only available to some gpu settings, ie vulcan, glcore etc? You can alter this in video settings? 

  Also make sure your shaders are updated. Again what settings you have selected will alter this. 

  You can just experiment with the others if you want. 

Edited by Djronz
Link to comment
Share on other sites

1 minute ago, Djronz said:

What shader does he use?  Some shaders are only available to some gpu settings, ie vulcan, glcore etc? 

  You can just experiment with the others if you want. 

He uses these two files: 8_16_bit_scanlines_hallation_curved.cgp8_16_bit_scanlines_hallation_curved_vertical.cgp not sure why I can't select them. My PC is running a RTX 4080, what should I change my gpu settings to?

Link to comment
Share on other sites

51 minutes ago, ThaKingRa444 said:

He uses these two files: 8_16_bit_scanlines_hallation_curved.cgp8_16_bit_scanlines_hallation_curved_vertical.cgp not sure why I can't select them. My PC is running a RTX 4080, what should I change my gpu settings to?

I use a very outdated version of RA (probably a few years behind), that could be the problem. You could open the cpg files with a text editor and try to make sense out of the settings and shader I used but thats all I can offer in help.

Link to comment
Share on other sites

10 minutes ago, Mr. RetroLust said:

I use a very outdated version of RA (probably a few years behind), that could be the problem. You could open the cpg files with a text editor and try to make sense out of the settings and shader I used but thats all I can offer in help.

Thank you for the response I appreciate the help. I'll figure it out some time today at least I got the bezels working its dope

  • Game On 1
Link to comment
Share on other sites

Ok unfortunately I'm having an issue with the bezels for another platform. Now Dreamcast isn't launching the bezel I want to work, it is launching a different bezel. I tried selecting the bezel I want in retroarch but when I override core it doesn't work when I restart the game. I'm getting frustrated what am I doing wrong?

Link to comment
Share on other sites

6 hours ago, ThaKingRa444 said:

Ok unfortunately I'm having an issue with the bezels for another platform. Now Dreamcast isn't launching the bezel I want to work, it is launching a different bezel. I tried selecting the bezel I want in retroarch but when I override core it doesn't work when I restart the game. I'm getting frustrated what am I doing wrong?

  Have you set the overlays via the menus in retroarch?  Not via launchbox?  Does it affect all Dreamcast games or just one?  If you've accidently saved a game override for the with wrong overlay it will override the core overlay. 

   Try saving the it as a game override and see if it saves on restart. 

  On occasion I've managed to get corrupt configs in retroarch by messing around with things and this has stopped me saving correct settings.  Unfortunately this usually means reinstalling a fresh version of retroarch and stating again!  I always keep a backup version in case this happens. 

 Re: shaders,  they're re quite a personal thing. I was personality very happy with crt geom for a TV look but have recently switch to Mega Bezel reflection shaders as they offer the closest (in my opinion) to a crt screen and have options for realtime reflections around the screen, which sells the illusion a bit more. 


Link to comment
Share on other sites

I'm sure there'll be differing opinions on this and definitely no right/wrong answer but my personal preference is for RetroArch to be vanilla and kind of a slave to LaunchBox. So for me, RetroArch has no preferences set at all other than the style of the menu (PS2) and almost all options set to the defaults, and the CLI from LB to RA dictates the shader to use, and the overlay (the RetroLust overlay) to use. This way I can set the overlay to use on a platform-by-platform basis (not a core-by-core basis). But each to their own for sure.

Definitely take a copy of your retroarch.cfg file (if it's not already too late), as when I was messing about trying to get the overlays to work I mucked up my cfg file and had to recover it from a backup.

Link to comment
Share on other sites

I'm probably overthinking this, but how do I go about "Rewriting" @Mr. RetroLust's shader presets for the latest version of RetroArch (Not even sure if I should use slang or glsl).

As of right now I'm thinking of making a folder called RetroLust (Maybe one for each slang and glsl) and copying all named shaders into it and pointing the cgp file there (Unsure if that would work).

Link to comment
Share on other sites

@deuxcolors I don't have a walkthrough but I can put a bit more detail here. This is what I do personally for my LB system:

i) Take a backup copy of your retroarch.cfg file, then open the original one and make sure: config_save_on_exit = "false". I don't think I made any other changes to this. This means that when you exit RA after playing around, no changes you made via the UI will be saved (unless you manually Save it). I did this because my work-around for getting per-platform overlays and shaders involves temporarily appending specific extra lines to the RA config.

ii) In LB, go to Tools > Manage > Emulators... > RetroArch > Associated Platforms. For the platform you want to get set up, make sure the Extra Command-Line Parameters looks like this (here's my Atari 2600 line):

-f --appendconfig "overlays\Atari 2600.cfg" --set-shader "Atari 2600.slangp"

iii) In the RetroArch\overlays folder, I have created one config file per platform (regardless of core). For example, my Atari 2600.cfg looks like this:

aspect_ratio_index = "23"
video_scale_integer = "false"
custom_viewport_height = "1150"
custom_viewport_width = "1360"
custom_viewport_x = "420"
custom_viewport_y = "100"
input_overlay = ":\overlays\_MR.RETROLUST\Bezel_Atari_2600_Night_Mr_RetroLust.cfg"
input_overlay_enable = "true"
video_windowed_fullscreen = "true"

For each of the config files I have, one per platform, most of the above is identical. The only difference is the input_overlay, which points to the appropriately-named config file in the _MR.RETROLUST subfolder (I didn't change anything in this folder), and the custom viewport X, Y, Width and Height.  (for info, this _MR.RETROLUST folder I think is just what was downloaded from here and has just the overlay PNG images, and some other config files - one per platform). Unfortunately getting the X/Y/W/H correct was trial and error (running a game, then adjusting the co-ords, then rerunning again, until the emulated game screen appeared correctly within the Overlay's TV screen image) "right a bit, up a bit, left a bit, a bit wider, a bit shorter, right a bit more, etc.". I'm sure these would have been set up correctly by the big man himself but for some reason they were incorrect (I maybe did something wrong) so for each system I had to go through this. Actually it would only take about 2-3 minutes to get each one correct and was kind of fun.

iv) In the RetroArch\shaders folder, I have also created one config file per platform (regardless of core). They are all .slangp files, and each one simply points to an existing RA preset which I liked for the platform. For example, my Atari 2600.slangp looks like this:

#reference "shaders_slang\crt\newpixie-crt.slangp"

...whereas my Nintendo GameCube.slangp looks like this:

#reference "shaders_slang\crt\crt-frutbunn.slangp"


The top few lines of my Associated Platforms therefore looks like this:

image.thumb.png.e832b1e89c107ec9b4e391f5c8a306b7.png


That's all I did, from what I can remember, and it works perfectly. If there's anything I've forgotten then it'll be in the retroarch.cfg file. In case it helps, here are the video lines in my retroarch.cfg:

video_adaptive_vsync = "false"
video_allow_rotate = "true"
video_aspect_ratio = "1.333300"
video_aspect_ratio_auto = "false"
video_autoswitch_pal_threshold = "54.500000"
video_autoswitch_refresh_rate = "0"
video_black_frame_insertion = "0"
video_context_driver = ""
video_crop_overscan = "true"
video_ctx_scaling = "false"
video_disable_composition = "false"
video_driver = "vulkan"
video_filter = ""
video_filter_dir = ":\filters\video"
video_font_enable = "false"
video_font_path = ""
video_font_size = "32.000000"
video_force_aspect = "true"
video_force_srgb_disable = "false"
video_frame_delay = "0"
video_frame_delay_auto = "false"
video_fullscreen = "false"
video_fullscreen_x = "0"
video_fullscreen_y = "0"
video_gpu_record = "false"
video_gpu_screenshot = "true"
video_hard_sync = "false"
video_hard_sync_frames = "0"
video_hdr_display_contrast = "5.000000"
video_hdr_enable = "false"
video_hdr_expand_gamut = "true"
video_hdr_max_nits = "1000.000000"
video_hdr_paper_white_nits = "200.000000"
video_layout_directory = ":\layouts"
video_layout_enable = "true"
video_layout_path = ""
video_layout_selected_view = "0"
video_max_frame_latency = "1"
video_max_swapchain_images = "3"
video_message_color = "ffff00"
video_message_pos_x = "0.050000"
video_message_pos_y = "0.050000"
video_monitor_index = "0"
video_msg_bgcolor_blue = "0"
video_msg_bgcolor_enable = "false"
video_msg_bgcolor_green = "0"
video_msg_bgcolor_opacity = "1.000000"
video_msg_bgcolor_red = "0"
video_notch_write_over_enable = "false"
video_post_filter_record = "false"
video_record_config = ""
video_record_quality = "2"
video_record_scale_factor = "1"
video_record_threads = "2"
video_refresh_rate = "0.000000"
video_rotation = "0"
video_scale = "3"
video_scale_integer = "false"
video_scale_integer_overscale = "false"
video_shader_delay = "0"
video_shader_dir = ":\shaders"
video_shader_enable = "true"
video_shader_preset_save_reference_enable = "true"
video_shader_remember_last_dir = "true"
video_shader_watch_files = "false"
video_shared_context = "false"
video_smooth = "false"
video_stream_config = ""
video_stream_quality = "11"
video_stream_scale_factor = "1"
video_stream_url = ""
video_swap_interval = "1"
video_threaded = "false"
video_vsync = "true"
video_waitable_swapchains = "true"
video_window_auto_height_max = "1080"
video_window_auto_width_max = "1920"
video_window_custom_size_enable = "false"
video_window_opacity = "100"
video_window_save_positions = "false"
video_window_show_decorations = "true"
video_windowed_fullscreen = "true"
video_windowed_position_height = "720"
video_windowed_position_width = "1280"
video_windowed_position_x = "0"
video_windowed_position_y = "0"


Link to comment
Share on other sites

Noob question: When I enable these bezels on a 21;9 display, they stretch to fill the full display. Is there any way to maintain the 16:9 aspect ratio of the bezels on a 21:9 display in fullscreen mode?  Thanks!

Link to comment
Share on other sites

4 minutes ago, XboxSlacker said:

Noob question: When I enable these bezels on a 21;9 display, they stretch to fill the full display. Is there any way to maintain the 16:9 aspect ratio of the bezels on a 21:9 display in fullscreen mode?  Thanks!

I dont really know but have you tried your system display settings to set those to 16:9?

Link to comment
Share on other sites

So changing Video -> Aspect_Ratio only impacted the rendered game image, but I then discovered "Auto Scale Overlay" in the overlay UI menu which when enabled seems to snap the overlay back to its original aspect ratio. Now just need to dial in the game positioning and should be good to go. Thanks so much for the work on these - they are amazing.

  • Thanks 1
Link to comment
Share on other sites


Join the conversation

You can post now and register later. If you have an account, sign in now to post with your account.

Guest
Unfortunately, your content contains terms that we do not allow. Please edit your content to remove the highlighted words below.
Add a comment...

×   Pasted as rich text.   Paste as plain text instead

  Only 75 emoji are allowed.

×   Your link has been automatically embedded.   Display as a link instead

×   Your previous content has been restored.   Clear editor

×   You cannot paste images directly. Upload or insert images from URL.

×
×
  • Create New...