

CriticalCid
-
Posts
1,461 -
Joined
-
Last visited
-
Days Won
19
Content Type
Profiles
Forums
Articles
Downloads
Gallery
Blogs
Posts posted by CriticalCid
-
-
SentaiBrad said
Just did it. Maybe you can pin it up so new users could find it easier? https://www.launchbox-app.com/forum/emulation/how-to-update-your-mame-romset-to-a-newer-version-with-clrmamepro @Gizmo: You should use Clrmamepro only for a complete MAME Romset. It isn’t made for just checking single games. I also think that lormonkus is right and you should just ignore Clrmamepro, Romlister, etc since they require way too much knowledge of MAME which you apparently don’t have yet. Like SentaiBrad said you should just grab a complete split ROMset and a MAME version which fits the ROM version. It’s roughly 50+GB in size. Even if you just want a few games for it you will need the full set for BIOS and other files which many games need to work.CriticalCid said Here’s the link to my tutorial for Clrmamepro: https://www.launchbox-app.com/forum/emulation/best-practice-for-keeping-mame-roms-up-to-date/page-2#p11536 Make sure you have a complete unchanged MAME Romset before you start. And I hope you didn’t already just replaced older ROMfiles with the ones from the update packs, that’s one of the main mistakes new users tend to do. @SentaiBrad I think my tutorial is quite buried in the thread in which I posted it in and even I have to search for it every time in my post history to find it. Maybe I should open a new thread only for the tutorial and you could pin it so that new users can find it very easily? What are your thoughts on that?
Please do. -
Tutorial: How to update your MAME ROMset to a newer version with CLRmamepro
Note #1: This tutorial will show you only how to update your ROMset. If you are completely new to MAME you will probably want to read the noob-friendly MAME guide from @lordmonkus first.
Note #2: This tutorial assumes that you already have a complete ROMset from a previous MAME version. If you don’t have a complete ROMset than I would suggest to just grab a complete set for the current MAME version and return to this tutorial if you want to update it in the future. I'm not covering SoftwareLists for the MESS side of MAME in this Tutorial, only the arcade games. Also I'm not an expert for MAME, I just know my way around the things I need from it. If you find any errors or wrong facts in my tutorial, please let me know! I’m always eager to learn more.
Why update the ROMs?: MAME is very sensitive about its ROM versions. You can get an older version of a ROMset to work with a newer MAME version but you should be aware that you can run in many errors and missing files. In the best case your ROMset version matches exactly the MAME version you are using. The MAME developers are updating MAME every last Wednesday of the month, so if you download a complete ROMset today it won’t work perfectly fine with the newest MAME version by the end of next month. If all the games you want to play are all there and working perfectly fine you probably won’t care about new updates, but if you want to get all the new emulation improvements and newly added ROMs you should keep track of them. Now is a complete ROMset with all CHDs roughly 400GB in size, so you probably don’t want to download that amount of data every month. It’s faster to just download all new added ROMs, CHDs and Samples and update the ROMset you already have. And with the program CLRmamero you can do this. If you want more information about why MAME is so sensitive about the ROM versions and mandatory file names I highly recommend this Reddit thread:
https://www.reddit.com/r/MAME/comments/3gh78n/probably_a_silly_question_but_why_are_ROM_packs/
Step 1: Groundwork
1. First of all you should know what ROMset version you have. I don’t know if there’s a comfortable way to find out what version you have. Normally your ROMset version should be the same as the MAME version you are currently using but I can’t guarantee that this is the case for you. So if you have absolutely no idea what ROM version you have I would suggest what I wrote at the beginning of this tutorial. Download a complete set of the current version and write down what version that is, so you can update that set in the future.
2. Download all ROM update packs beginning from the version you have until to the current version. With all I mean all and not just the latest. For example if your ROMset is on version 0.168 and you want to update to version 0.171 you will need the update packs: 0.168 to 0.169, 0.169 to .170 and 0.170 to 0.171!
3. Download CLRmamepro at http://mamedev.emulab.it/clrmamepro/ and install/extract it. You will also need to install/update to a version of MAME which matches the version you want to update your ROMset to. In this tutorial I show you how I update my 0.170 ROMset to version 0.171. I use for that MAMEUIFX64 0.171.
4. Optional: If you use a branch of MAME which supports some extra games (like MAMEUIFX) you would probably want these games too. Normally they are not included in an official complete MAME ROMset so you have to download them separately. Use Google to find out if your MAME version supports additional games and then download them. If you use MAMEUIFX like myself you can legally get the additional games in their official forum: http://mame32fx.altervista.org/forum/viewtopic.php?t=4 Just download all ROMs and Samples and keep in mind to create separate folders for ROMs and Samples.
Step 2: Setting up the profile and paths
5. Open the “cmpro64.exe” and you will be greeted with a messagebox. Click okay and you will automatically be in the profiler menu.
6. Here you have different options to include a database for Clrmamepro to work with. The easiest and in my opinion the best way is to use the database which comes directly with MAME itself. So click on the create button and a new window will open. As filename search for the .exe file of your MAME version. As description I recommend you name it after the MAME branch and version you are using. In my case I name it MAMEUIFX64 0.171. Keep MAME as the emulator. Click on “Create Profile” and a new window opens in which can organize your profiles. For now just click on OK.

7. Now your newly created profile should show up in the profilelist. Double-click on your new profile.
8. Now Clrmamepro wants to extract the database from your MAME .exe file. Click on OK. After a short scan it may ask you if you want to import SoftwareLists. If you don’t use MESS within MAME you won’t need that. I don’t use MESS or want to update a MESS romset so I say “NO” to the SoftwareLists. Now some error messages are popping up. That’s totally normal. Just confirm every message with “OK TO ALL”.
9. Now you’re in the main menu of CLRmamepro. At first we have to set up our rom paths. Click on "Settings" for that.
10. In the left upper corner you can select for what kind of files you want to set up the paths. We want to add our ROM-Paths so we select “ROM-Paths”. You can either click on “Add” to add your paths or just drag-and-drop them into the window. So add the path to your current romset you want to update. (NOT the paths which are containing your updates!)
11. Every file CLRmamepro finds within the ROM- and Sample-Paths which don’t fit to the current MAME version will automatically be moved into the Backup folder. The standard setting for this is a folder called “backup” within CLRmamepro folder. If your CLRmamepro installation is on the same drive as your MAME romset than you can leave it as it is. If CLRmamepro and your ROMset are on different drives I highly recommend changing the backup folder path into an empty folder which sits on the same drive as your ROMs. It will highly increase the speed. Leave the rest as it is.
12. Change the path type to “Add-Paths”. Here you need to add every path you want the program to look for updates or new ROMs you want to add. If you have more than one update pack you can add all update packs at once in order to update your ROMset to the current version. No need to repeat this entire updating process for every single update pack.
IMPORTANT: You have to add the backup path too! In my case I want to update from 0.170 to 0.171 and add the extra games for MAMEUIFX.
13. Optional: If you want to scan/fix/update your Sample files too, choose “Sample-Paths” and add the folder for it as well. A small explanation what sample files are (thanks Google): Samples go in a folder called 'samples' in your main Mame directory. They are used in conjunction with games that either doesn't have emulated sound or used external sound samples via another device (like a Tape). Mame will automatically use the correct ones with the game if they are present in the samples folder.
14. Close the window. All settings are being saved automatically.
Step 3: The Scanner
15. After we have set up all paths we want that CLRmamepro scans our current romset and fix/remove every outdated ROM, CHD and Sample file. For that we click on "Scanner".
16. The “You want to scan” section is self-explanatory. In the “You prefer” section you have to select the option which matches to your ROMset. So if you have a split set select “Split Sets”, etc. If you don’t know what kind of set you have just go with “Split Sets”.
17. “Prompts” you can leave it as it is.
18. In the check/fix section we want to check and fix everything. Click on “All” and every checkbox should be checked now.
19. Ignore the “Advanced” and “LogFile” button and click on “Systems”. A new window opens up. Here click first on “All” and then on “Auto-Assign”. It will automatically set the paths for all systems into the ROM-Path you chose earlier. At the end of this tutorial I will say something more to this but for now just close the window.
20. Click on the “Hash & CHD” button. In the new window check both options at the bottom “Run Analysis” and “Fix file (If Possible)". These options will decrease the scanning speed but if you have corrupted ROM files it will try to repair them automatically. Leave the rest at is and close the window.
21. Ignore “Statistics”. Now we have configured the scanner and it should hopefully look like this:
22. Click on “New Scan” and wait. The scanner will tell you if it finds something which needs to be fixed. Confirm every message with “Yes To All”. In the “Scan Results” window you can see exactly what is currently wrong with your romset. You don’t have to worry about that.
23. When the scan is finished a window pops up that’s giving you information about the current status of your ROMset. Click on “OK” and close the scanner.
Step 4: The Rebuilder
24. Our ROMset is cleaned and fixed now. At next we have to update it to the new version. For that click in “Rebuilder”.
25. Check the box “Use Add-Paths” and CLRmamepro will use all the paths for the updates that we already set up.
26. At "destination" you have to check the box “Use System Default Paths”.
27. In the Merge option you can choose how you want to have your ROMset to be constructed. For the best compatibility with LaunchBox I highly recommend a split or non-merged set! Here are the differences between the different set options:
Non-Merged: Each set has ALL files it needs. This is normally a waste of disk space because even clone sets have the parentsets included.
Split: Parent sets only have the parent files and a clone sets consists of the clone files only.
Merged Sets: Full merged sets are parentsets only, which also include all clone files. So you will have every version of the game in just on file. I don’t want to waste disc space so I go with a split set in this tutorial.
IMPORTANT: If you change the way of how your ROMset is currently constructed prepare for long waiting times because your whole set will be extracted and completely new rebuild.
28. At “Compress Files” you have to choose which file format you want for your ROMS. I prefer .7z because it saves more space on the hard drive as .zip.
IMPORTANT #1: If you change the file format to a different format as your ROMs are already zipped it will take very long to rebuild your ROMset, because all your ROMs will be extracted and compressed again. So if you have all your ROMs in .zip files and you want it to change to .7z prepare for a long waiting time until everything is done.
IMPORTANT #2: If you want to use .7z you will have to need 7-Zip installed on your PC. If you want to use .rar you will have to need WinRAR installed on your PC.
29. Check “Recompress Files”, “Show Statistics” and “Remove Matched Sourcefiles”.
30. Ignore “Systems” and “Advanced” and click on “Rebuild”.
31. Optional: If you get an error relating to a .7z file it helps to copy the “7z.exe” and “7z.dll” from your 7-Zip folder into your “CLRmamepro” folder.
32. Now the rebuilding starts. Depending on your ROMset and your options it could take quite a while. When the rebuilding is finished you get a status report.
33. Click on ok and close the rebuilder. Now we are almost finished.
34. If you want to update your CHDs now is the time to do this. But be aware that CHDs have their own update packs and you’ll have to download them separately. To update them just move the folders which are containing the CHD files from your CHD update folders into your ROM folder. You have to do that manually because the rebuilder of CLRmamepro doesn’t copy any new CHDs into your ROM folder. Only the scanner renames/removes old ones (if you have CHDs checked in the options). I also would highly suggest you to do that in order of the versions. For example if you want to update from 0.171 to 0.173 first move the updated CHDs from the 0.171 to 0.172 pack, than the ones from 0.72 to 01.73 etc. If Windows asks you if you want to integrate the files in the already existing folders confirm that with "Yes". BUT if it asks you at any point if you want to overwrite old files I would suggest you to decline that and do another scan so that the scanner of CLRmamepro can fix the CHD names from the older update packs. To speed up the scan you can uncheck "ROMs" and "Samples" in the scanner options first before you start the scan. After the finished scan you just have to move the remaining CHDs from the update pack which wanted to overwrite old CHD files into your ROM folder and then simply continue with the other update packs. Repeat that if Windows asks you again if you want to overwrite some files.
35. Do the same with your Sample files if you want to add or update them. Just keep in my mind to move them in your samples and not into your ROM folder.
36. Go back to the “Scanner” and click on “New Scan”. If you have unchecked “ROMs” and “Samples” in order to update your CHDs check those two again before you start the final scan.
37. If everything worked the new scan result screen should look like this:
I only miss a sample file for one game which I couldn’t track down yet. Everything else is complete and now up to date.
38. Now you can delete all your update folders.
I hope this tutorial was understandable and useful for some of you. If you have questions feel free to ask.
-
 13
13
-
 3
3
-
 1
1
-
-
Here’s the link to my tutorial for Clrmamepro: https://www.launchbox-app.com/forum/emulation/best-practice-for-keeping-mame-roms-up-to-date/page-2#p11536 Make sure you have a complete unchanged MAME Romset before you start. And I hope you didn’t already just replaced older ROMfiles with the ones from the update packs, that’s one of the main mistakes new users tend to do. @SentaiBrad I think my tutorial is quite buried in the thread in which I posted it in and even I have to search for it every time in my post history to find it. Maybe I should open a new thread only for the tutorial and you could pin it so that new users can find it very easily? What are your thoughts on that?
-
Probably is your MAME wrong configured. If you can get MAME directly running you shouldn’t have any problems with LaunchBox either. Also make sure that the version of MAME matches the version of your ROMs for error minimization. As far as I know uses RocketLauncher its own configuration for each emulator and not necessarily the configuration from the emulators themselves. So it explains why it works with HyperSpin but not in MAME directly.
-
Awesome to have such a feature but I don’t necessarily want all the lists/genres as different platforms or in a separate platform at all. Would it be possible to add an option that these games in the list just simply get the favorites tag? I still want to import all my 2000+ games with the normal filters so I would rather have all the “Best of” games in their respective platforms like MAME, CPS1, Neo Geo, Model 2, Naomi, etc and just marked them as favorites. So I would still have mostly all playable games in my MAME libarary on my LaunchBox setup but I could easily filter for the games which are considered best.
-
It looks like that your MAME version doesn’t exactly match the version of your romset. For this game I know it for sure because I know that Bubble Bobble has gotten a new dump a few months (MAME versions) ago. But it’s odd that it still works on another FrontEnd. Does the game start within MAME itself or do you get this error only when you try to start it with LaunchBox?
-
He attached text(batch-)files with the romnames on the respective posts. I would also find these filter quiet useful too :)
-
The new views are awesome! I’m really thankful for this! Some thoughts from me: CoverFlow: - My analog sticks and the shoulder buttons of my Xbox 360 gamepad aren’t working in CoverFlow. The enter and back buttons of the pad and keyboard navigation is working fine. - I would like it if it uses fanart as well. At the moment it’s just a boring black background for every game. - I also would like to have more game info in it. At least genre, year, developer and publisher would be nice. Horizontal cover: - The shoulder buttons of my 360 pad are acting weird. If I press RB it goes one entry back and if I press LB it goes one entry forth. I dont know if the one entry jump is on purpose (if yes, it would be nice if you could change that) but the directions are definitely inverted. General: - It would be nice to have the new alpha-numeric navigation in the new views as well - Instead of a general viewtype for everything it would be awesome to change that for every platform individually. - A button to change the viewtype on-the-fly when I’m navigating in a platform would be nice (I’m kinda used to it through Kodi). New views suggestions: - A mix of CoverFlow and the Horizontal viewtype. Similar like the Aeon Skins or the standard view for Rom Collection Browser in Kodi.
- As already suggested in THIS THREAD a big video view for recorded HyperSpin themes. Similar like my mockup (for 16:9 themes) and HyperVision (for 4:3 themes). Also see my detailed suggestions in Post #6 in the linked thread.
-
You’re welcome
-
Did you try to scan/update software lists and not only arcade games? I never heard of that error message either but I also never used Clrmamepro for software lists (I never bothered about MESS). If you don’t use Software Lists and only want to update your Arcade ROMs than it’s important that you click in Step 8 of my tutorial “NO”. Also it sounds like a problem in the systems manager (step 19 of my tutorial) maybe you can check if there everything looks similar to my screenshot?
-
But it supports most of the more or less official MAME support files which covers nearly every game for MAME. If missing metadata is the only concern of tribe fan than it is indeed a very good solution for this. But if there’s another reason why he only wants games which appear in the LBGD than you’re right, the result would be the same.
-
Antropus said Please give it yet another shot an thanks again for being, apparently, my only customer :P
Another customer here ;) I finally found the time to test the newest version of your importer and had no problems at all (except for known double custom field bug and the export games). I really like your new wizard as well. Looks really great, is very intuitive and works like a charm. Really looking forward to the final release of your tool (which hopefully has the export release issue solved) so I can finally import my MAME games into my real LaunchBox setup. Keep the up the good work :) -
It would be possible to record them in 1080p. But like I said is the original resolution of HyperSpin themes only 1024x768. So the themes would look stretched and sometimes pixelated. Basically it would look the same if you open the videos in full screen and stretch them to 16:9. If I would record them that way it would only lead to videos with a bigger file size and a stretched image in the wrong aspect ratio. But the result would be exactly the same in the end if you stretch the video with the player or having an already stretched video. That’s why I said that full screen video backgrounds wouldn’t probably be the best way of how to integrate the themes in BigBox and suggested some different approaches (I also don't like the stretched themes in HyperSpin itself on a 16:9 display either). Of course there are ways to convert the 4:3 themes to 16:9 with a resolution of 1366x768 but there aren’t many game themes already converted because it’s extremely time intensive. Especially if you have to deal with more momplex backgrounds. I could record all the existing widescreen game themes if you want but I’m not sure if it’s worth to integrate this feature for just a handful of games. As far as I know there’s only a complete conversion for mabye 100 to 200 games and most of the Platforms/Systems themes. EDIT: This video shows pretty good the difference between the original theme and the stretched version if HyperSpin runs in 16:9 https://www.youtube.com/watch?v=2bzZ8eEQJ-Y
-
Hey @Jason since you were so excited about HS Themes as videos I recorded some MAME game themes in their original resolution and 60fps for you. I hope you will find it useful to test around :) It took quite a while and a lot of testing until I figured out a good way to convert the themes to a very good quality/file size ratio. Some feedback about that would be appreciated. https://drive.google.com/folderview?id=0B_6XLOBnGwlUN3dUN2h5UWN1VUE&usp=sharing Greetings, Cid
-
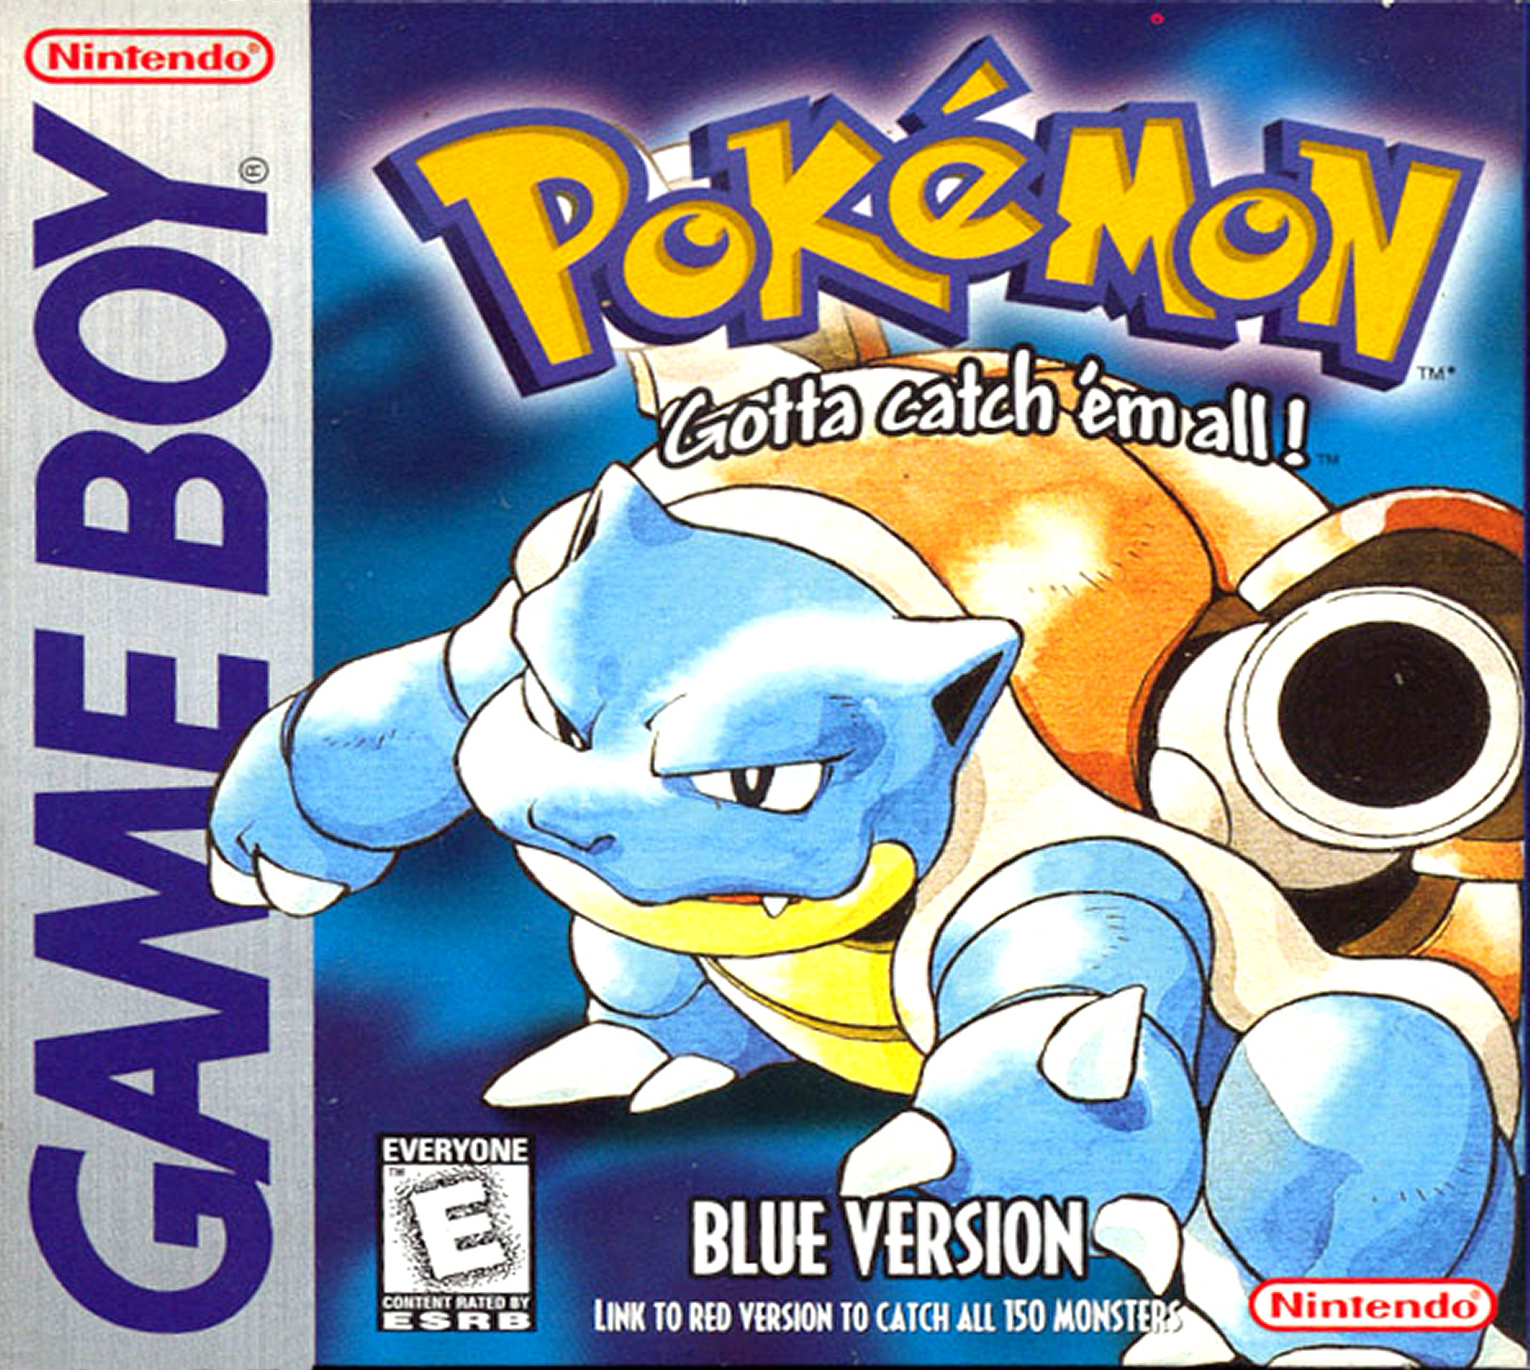
I seriously can’t remember what the first game was that I have ever finished. If I have to guess I would say it was Super Mario Land for the original Game Boy but I’m not sure. On the other hand I know exactly what the first game was that I have ever completed to 100%. It was Pokemon Blue Version in which I completed the whole Pokedex with the help of my uncle. I played and loved Pokemon so much I must have spent 1000+ hours alone with the Blue Version and it is certainly the game I finished the most in my life as well.
-
@Jason Awesome to hear that you like the idea. Then was all the work I have put in the video well spent :) And regarding to the themes: Something similar like this was actually already requested on BitBucket https://bitbucket.org/jasondavidcarr/launchbox/issues/531/rearranging-of-big-box-elements That would be the absolute best improvement to BigBox for me. But keep in mind that most of the HyperSpin themes are in 4:3 with a resolution of 1024x768 and converting them to 16:9 is very time-consuming and they won't be in HD after that either. So I guess a forced full screen background video wouldn’t be optimal (Except for a handful of themes with different approaches like the Cinematic themes by James Baker or Retro956). It’s more predestined to be used like I did in my video -> the theme in a corner and game details, game list, cover, etc around it so that the theme won’t be stretched. And in the best case all elements could be rearranged by the user like it was suggested in the linked ticket. But the method HyperVision uses (stretched 4:3 theme to fill the whole height of the screen on the right, Logos/List on the left to get a 16:9 aspect ratio) would work really well too. Maybe the upper half of the left side could be used for the game list/logos and the lower half for game info/metadata.
-
No. HyperSpin doesn’t have any rights to this. Most of the themes and artwork is created by their community. Especially James Baker (the creator of the PSP and NES theme I used) would love to see his project in other Front Ends. There isn’t exactly a ticket for it on BitBucket. It’s more a mix of the system video ticket and a more specific request for the additional views ticket: https://bitbucket.org/jasondavidcarr/launchbox/issues/313/add-videos-for-platforms https://bitbucket.org/jasondavidcarr/launchbox/issues/336/big-box-additional-views But if Jason or Brad thinks that it would need its own ticket I can create one for it. Glad you guys like the idea.
-
@Jason mentioned in his last developer seasons video that he can be convinced by passionate requests to add new features. So I thought why not just show how awesome it could look like if one of my most anticipated features request gets implemented. Now it seems to be the perfect time to make some promotion for it as well because he also said that he wants to work on BigBox next week. Especially that he wants to add more views and my request falls kinda in the same category :) Some big feature I would really like to see in BigBox is videos for platforms + a view for 16:9 HyperSpin system themes. So we all know that BigBox doesn’t support HS themes but a pretty awesome guy named JamesBaker has a little project called “HyperSpin Cinematic Themes”. Basically he creates HS themes in 1080p with his video editing software and offers them as .mp4 video files too. So BigBox could play his themes theoretically without any problems. Today I created a little test video of how it could look like in BigBox. But first I have to admit that I know nothing about video editing so I just recorded BigBox, copied that video 3 times within my video editing software, added the theme and rearranged/resized the 3 BigBox videos until everything was in place. Because I didn’t know how to cut out specific parts of a video it has some problems with too small text and too much/little space between the different menu items. Especially the positions of the platform banner and notes aren’t optimal at all. I left the background blank because I would have broke it with my drag and drop video editing method. I also had some ideas which I wasn’t able to do in the video. For example could the problem with the too small covers for the “recent” and “favorite” games be solved if only one of the 2 would be shown and the user can switch between them by pressing up or down if he is on a game. I also got inspired by the Xbox frontend “HyperVision” which tries to bring the look and feel of HyperSpin to the original Xbox. HyperVision doesn’t support the flash themes for HyperSpin either but they solved the problem by basically just recording the themes and play them as videos. So I did the same for the normal 16:9 SNES theme and it worked really well too. With the same method we could easily bring all the game themes to BigBox as well. And now I present you my little experiment: https://youtu.be/uP6FoltqE2s Further links: James Bakers YouTube Channel (download links for his themes are in the descriptions of his videos): https://www.youtube.com/channel/UCxNgRrtLSth94xOHNUHqUfw HyperVision: https://www.youtube.com/watch?v=o2Jn6zujFY4
-
You’re right on time. Brad just released a video tutorial for this 2 days ago. https://www.youtube.com/watch?v=SUQzvbweVgw
-
Cebion said
I completely agree with that. @Jason Now that the Database allows cover for multiple regions I hope that means you will finally tackle on this ticket? :) #314: Differentiate between (and scrape metadata for) separate region releases of the same game About the guideline: If I understand it correctly we should be go strictly by the name on the box? For example we should prefer “David Crane’s A Boy and His Blob: Trouble on Blobolonia” over “A Boy and His Blob: Trouble on Blobolonia”? Maybe the guidelines should be linked in the moderation panel too. So if a difficult entry comes up we moderators could take a quick look on the guidelines if we should accept it or not.SentaiBrad said I created a basic Moderation Guideline for the moderators. Look it over, see if there is anything else we need to add, something we need to change. I went over this post and what I was thinking of and created it. Jason's already taken a look at it and likes it. You can comment on the Doc but feel free to comment directly here. When we are ready to create a Database Subforum for the forums, this will go in a stickied thread there. https://docs.google.com/document/d/1wB80CH3zecXccfQ4Et8NxYa-G1bQuo7eo1YHvkYQ728/edit?usp=sharing
Looks very good. Don't forget the German USK. About the nudity part. I agree with you about Screenshots. We can always take those wihtout Nudity in it. But with the covers I disagree with you. If we manipulate the covers they're not original anymore and we destroy our whole policy of good quality submissions. -
Awesome! Now is your importer truly 100% perfect for my needs. I just want to say thank you for your work on this and that you share it with the whole community. It’s more than appreciated. I agree that the first line should be removed. On one hand you’re right that it is absolutely redundant and now even wrong on the other hand is the space for game descriptions in BigBox limited and it wastes 2 complete lines this way.
-
Wow! Just when I thought your tool couldn’t be any better you come up with a bunch of new features that I didn’t know that I want those really bad. Can’t wait to test it
But I also hope you will look into the problem with the notes for the export releases when you have finished the wizard.
-
I guess that MAME and Arcade-History have different ways to handle the whole clone version thing. My wild guess is that Arcade-History prefers the original first release of a game. Which might be in the most cases the Japanese versions and the western versions are just get marked as a export (clone) release. Maybe your tool could check the text of each note if there is mentioned something like „For more information about the game” or something similar. If that’s the case then the importer will automatically import the notes from the version of the game which the text is referring to instead. I don’t know how practical this idea is because I guess it would dramatically increase the time to import the games.
-
Great to see that you’re so commited to take your importer one step further. I never even bothered to use MESS but with your tool I might give it a shot in the near future.
I also have a question for the MAME importer. Do you have to plans to solve the "problem" that many western game versions only refer to the japanese version for the real game info in the notes? Or do you just leave it as it is for now? It’s currently the only flaw I have with your awesome importer. Otherwise it does its job pefect.


 - As already suggested in

mame not working
in Troubleshooting
Posted