

fercho
-
Posts
23 -
Joined
-
Last visited
-
Days Won
1
Content Type
Profiles
Forums
Articles
Downloads
Gallery
Blogs
Files posted by fercho
-
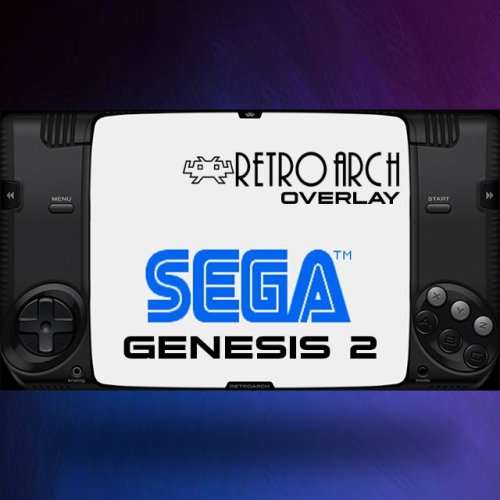
overlay SEGA GENESIS 2 - RETROARCH ANIMATED OVERLAY
By fercho in Platform Bezels/Overlays
RESOLUTION 1080P (THE VIDEO IS 720P)
MINIMUM RETROARCH VERSION RECOMMENDED 1.20.0
(the android playstore version is too old) get the latest one from retroarch.com
RECOMMENDED OVERLAY OPTIONS
quick menu // on-screen overlay
- overlay opacity: set to 1.0
- set inputs on overlay: set to physical if you're using a controller or to touched if youre using a mobile device
- auto-rotate overlay: se to ON- auto-scale overlay set to ON
TO ENABLE TE REWIND FUNCTION:
quick menu // rewind (set to enable)
ENABLE SEGA EMULATOR-CORE 6 BUTTON
quick menu // controls // change joypad auto to MD JOYPAD 6 BUTTON
ASSIGN REWIND AND FAST-FORWARD TO CONTROLLER BUTTONS/TRIGGERS L2 AND R2
settings// input // hotkeys //
- fast-forward (HOLD) set it to the R2 button/trigger on your controller
- rewind - set it to the L2 button/trigger on your controller
188 downloads
-
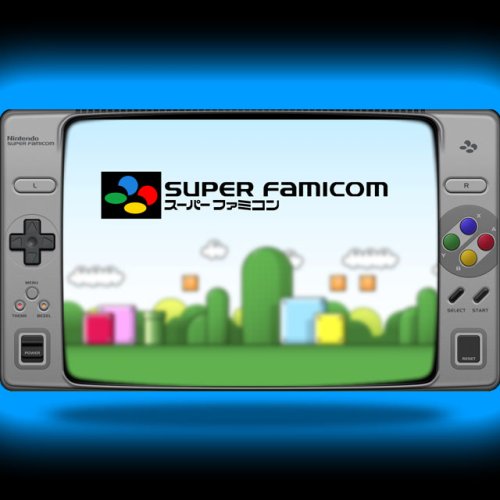
Super Famicom - Animated Overlay for Retroarch
By fercho in Platform Bezels/Overlays
1920X1080 Base resolution But should be compatible with wider displays. as elements arranges to the left and right independently of the resolution. (set AUTO SCALE OVERLAY to ON). Animated Controller buttons . Select-able in-screen bezel. American/International logos and fonts (selectable clicking the SNES logo). (only for the nintendo logos version) Dark Theme. RECOMMENDED SETTINGS
RETRO ARCH VIDEO DRIVER: - Use Vulkan or any Open GL driver (Direct X drivers are buggy with animated overlays) VIDEO SCALING: - Set the screen scaling to 4:3 in a 16.9 display to get a fullscreen perfect overlay fit. Otherwise set the video scaling manually to fit your device display. Integer Scale set to OFF OVERLAY SETTINGS:
Set the “AUTO SCALE OVERLAY” option to ON in non wide displays. (square displays like crt tv’s, vga monitors, lcd panels, etc.) Otherwise you’ll get displaced controls. Set Overlay Opacity to 1.0 Set Show Inputs on Overlay to: Physical (Controller) Set Show Inputs from Port to: 1 MEGA BEZEL PRESET
762 downloads
- snes
- super famicom
- (and 3 more)
(2 reviews)0 comments
Updated
-
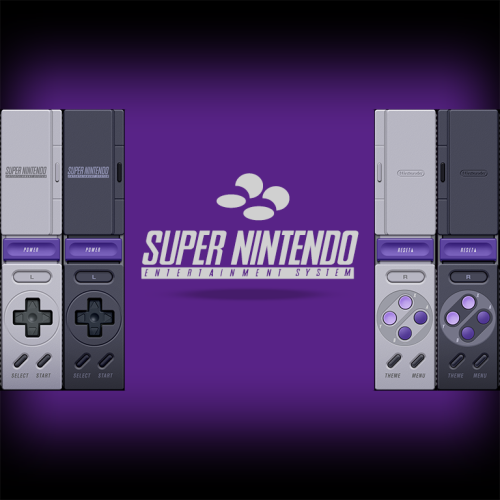
Super Nintendo - Animated Overlay for Retroarch (UPDATE)
By fercho in Platform Bezels/Overlays
UPDATES IN NEW VERSION
New elements arrangement. No more black empty sides on ultra wide displays.(set the "AUTO SCALE OVERLAY" option to ON for non wide displays). Optimized fonts in panels and buttons. Redesigned face buttons (A B X Y L R). Corrected main grey color brightness. Corrected purple color (blue removed). Redesigned side panels. In-screen bezel removed (won't interfere with shaders) Selectable Dark theme addition. CONFIGURATION TIPS
RETROARCH VIDEO DRIVER:
Use Vulkan or any Open GL driver (DirectX drivers are buggy withanimated overlays)
VIDEO SCALING:
Set the screen scaling to 4:3 in a 16.9 display to get a fullscreenperfect overlay fit.
Otherwise set the video scaling manually to fityour device display.
- Integer Scale set to OFF
OVERLAY SETTINGS:
Set the "AUTO SCALE OVERLAY" option to ON in non wide displays.(square displays like crt tv's, vga monitors, lcd panels, etc.) Otherwise you'll get displaced controls. Set Overlay Opacity to 1.0 Set Show Inputs on Overlay to: Physical(Controller) Set Show Inputs from Port to: 1 CREDITS
Special thanks to Reddit user Kuroiryuu for the dark theme idea, and help in color and font optimizations.
Overlay config created with the RetroPad editor by Valent-in.
Nintendo logos by Dan Patrick and David Pustansky.
1,536 downloads
-
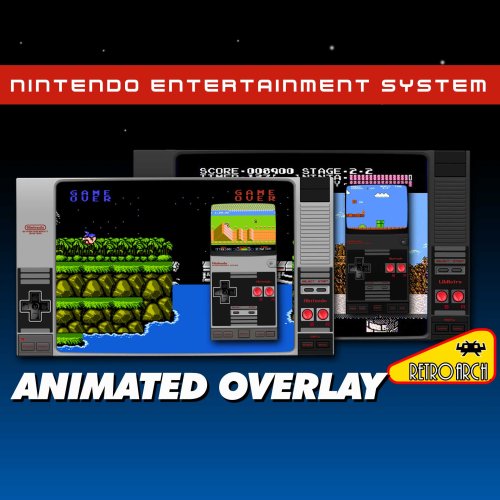
NES - Animated overlay for Retroarch
By fercho in Platform Bezels/Overlays
1920X1080 Base resolution Fully compatible with the overlay AUTO-SCALE option Animated controller buttons Optional In-screen tube borders (bezel) Dark Theme Portrait Mode included Animated Fast-Forward Button (only on portrait mode) MEGA BEZEL PRESETS (Light and Dark) MEGA BEZEL PRESETS
DARK
LIGHT
RECOMMENDED LANDSCAPE MODE SETTINGS
OVERLAY SETTINGS:
Enable the AUTO SCALE OVERLAY option. As this overlay is made by elements that stick to the edges, no matter what resolution is used. With this, the overlay won't look deformed if it's not used on a 16:9 display. Set "Show Inputs on Overlay" to "Physical (controller)" Or to "OFF" if overlay flashes on button presses. On the overlay settings set the OVERLAY OPACITY TO 1.0 VIDEO SCALING FOR LANDSCAPE/HORIZONTAL MODE For an aspect ratio screen of 16:9 set the video scaling to 4:3 non integer. And go Full screen.
RECOMMENDED PORTRAIT MODE SETTINGS
OVERLAY SETTINGS (NOT NEEDED IN UPDATE 1.1)
Use the same Overlay setting as for landscape mode. But Also Enable the AUTO ROTATE OVERLAY setting And in your phone enable the AUTO- ROTATION TOGGLE.
This would auto switch the overlay to landscape if its hold horizontally, and auto switch to portrait mode if its held vertically.
If for some reason it wont switch to portrait mode, and it stays in the landscape mode on the middle of the screen, I added a button on top " SWITCH TO PORTRAIT MODE" touch/click that to force the portrait mode.
VIDEO SCALING FOR PORTRAIT MODE
For some reason, Auto scaling for portrait overlays is only functional in horizontal elements. Meaning that vertical elements, wont align or stick to the top and bottom of the display.
With this in mind, i made the portrait overlay with only horizontal elements.
I tested this overlay on phones with screens of an aspect ratio of 16:9, 18.5:9 and 20:9. With these results:
- On a screen ratio display of 16:9 set video scaling to 16:10 - On a screen ratio of 18.5:9 and 20:9 set video scaling to 4:3
NOTE ABOUT ANIMATED RESET AND FAST FORWARD BUTTONS
RetroArch only allows to "animate" controller buttons, so to "cheat" this limitation, and create an animated non controller buttons, i used a combination of controller buttons. For example if you push in you controller the buttons R3+Y you'll see the reset button animate, but the emulator won't reset. (set a combination hotkey if you want it to). For the FAST FORWARD button, i set it to the R2 button, as i use that button in general for that function.
967 downloads
-
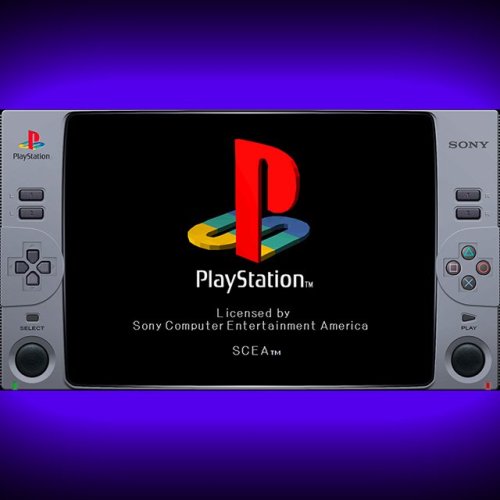
Playstation 1 - Animated Overlay for Retroarch
By fercho in Platform Bezels/Overlays
Created this idea , of an hybrid animated control with a Classic Playstation 1 console style.
Full HD 1920x1080 Resolution 16:9 Screen Ratio Animated Buttons
Recommended Video scale settings: (for a 16:9 screen ratio monitor)
SETTINGS >> VIDEO >> SCALING
INTEGER SCALE: OFF ASPECT RATIO: 4:3 CROP OVERSCAN: ON Use this setting on fullscreen and you should be good to go.
NOTE: Buttons should be responsive to touch/mouse clicks, But was intended to be used as a decorative/cosmetic overlay/border. DO NOT use on systems without hard controls (joypads/keyboards) as it doesn´t have access to the retroarch menu, you'll be stuck! (Mobile compatibily coming in the future)
See it in action:
1,055 downloads
-
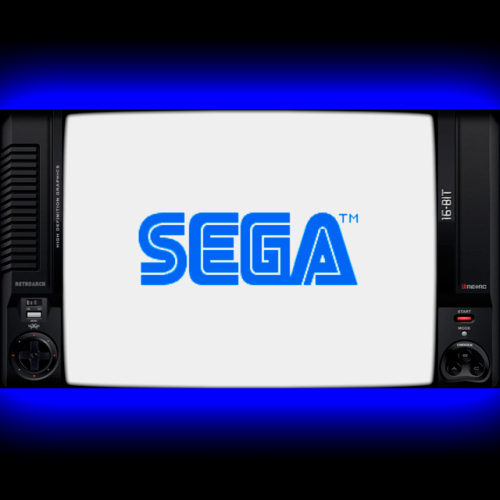
Sega MegaDrive - Animated Overlay for Retroarch
By fercho in Platform Bezels/Overlays
Decorative and animated border- overlay for Retroarch,
Based on the original Sega Megadrive console design.
3 AND 6 BUTTON OVERLAYS
Click on the MODE button to switch
RECOMMENDED VIDEO SETTINGS
For a proper full screen display on a 16:9 screen:
SETTINGS \ VIDEO \ SCALING \ INTEGER SCALE: OFF ASPECT RATIO 4:3 CROP OVERSCAN: OFF ENABLE BUTTONS ANIMATION
SETTINGS \ ON-SCREEN DISPLAY \ ON-SCREEN OVERLAY
Set : SHOW INPUTS ON OVERLAY TO : PHYSICAL (CONTROLLER)
RECOMMENDED 6 BUTTON CONFIGURATION
INSTRUCTIONAL VIDEO: https://www.youtube.com/watch?v=gw38OqigS8o&t=140s
For a proper distribution in the buttons for the 6 button mode,
Mortal Kombat and Street Fighter games were taken as main example.
For MORTAL KOMBAT games overlay controller mapping is:
X and A are set for High and Low Punch, Y and B are for Run and Block, Z and C are High and Low Kick For STREET FIGHTER games overlay controller mapping is:
X Y Z are light, medium and hard punch A B C are light, medium and hard kick RETROARCH BUTTON INPUT CONFIGURATION
For the defaults 3 button configuration, recommended mapping should be
Overlay A button should be Retroarch Y button Overlay B button should be Retroarch B button Overlay C button should be Retroarch A button
RECOMMENDED SETTINGS FOR THE 6 BUTTON MODE
- First set your controller in the main input settings, to match your game pad:
SETTINGS \ INPUT \ PORT 1 CONTROLS
- LOAD ANY 6 BUTTON GAME
Open the main menu
quick menu \ controls \ port 1
Step in the each button and press left/right to change options
set the buttons like this:
A BUTTON = C B BUTTON = A X BUTTON = Z Y BUTTON = X L BUTTON = Y R BUTTON = B - GO BACK (press backspace on the keyboard )
MANAGE REMAP FILES \ SAVE GAME REMAP FILES
(this way input mapping should be done for each 6 button game)
- OR
Store your 6 button roms in a dedicated folder
and instead choose: SAVE CONTENT DIRECTORY REMAP FILE
( THIS WAY YOU DONT HAVE TO DO THIS FOR EVERY GAME )
672 downloads
(1 review)0 comments
Updated


