
faeran
-
Posts
2,980 -
Joined
-
Last visited
-
Days Won
141
Content Type
Profiles
Forums
Articles
Downloads
Gallery
Blogs
Everything posted by faeran
-
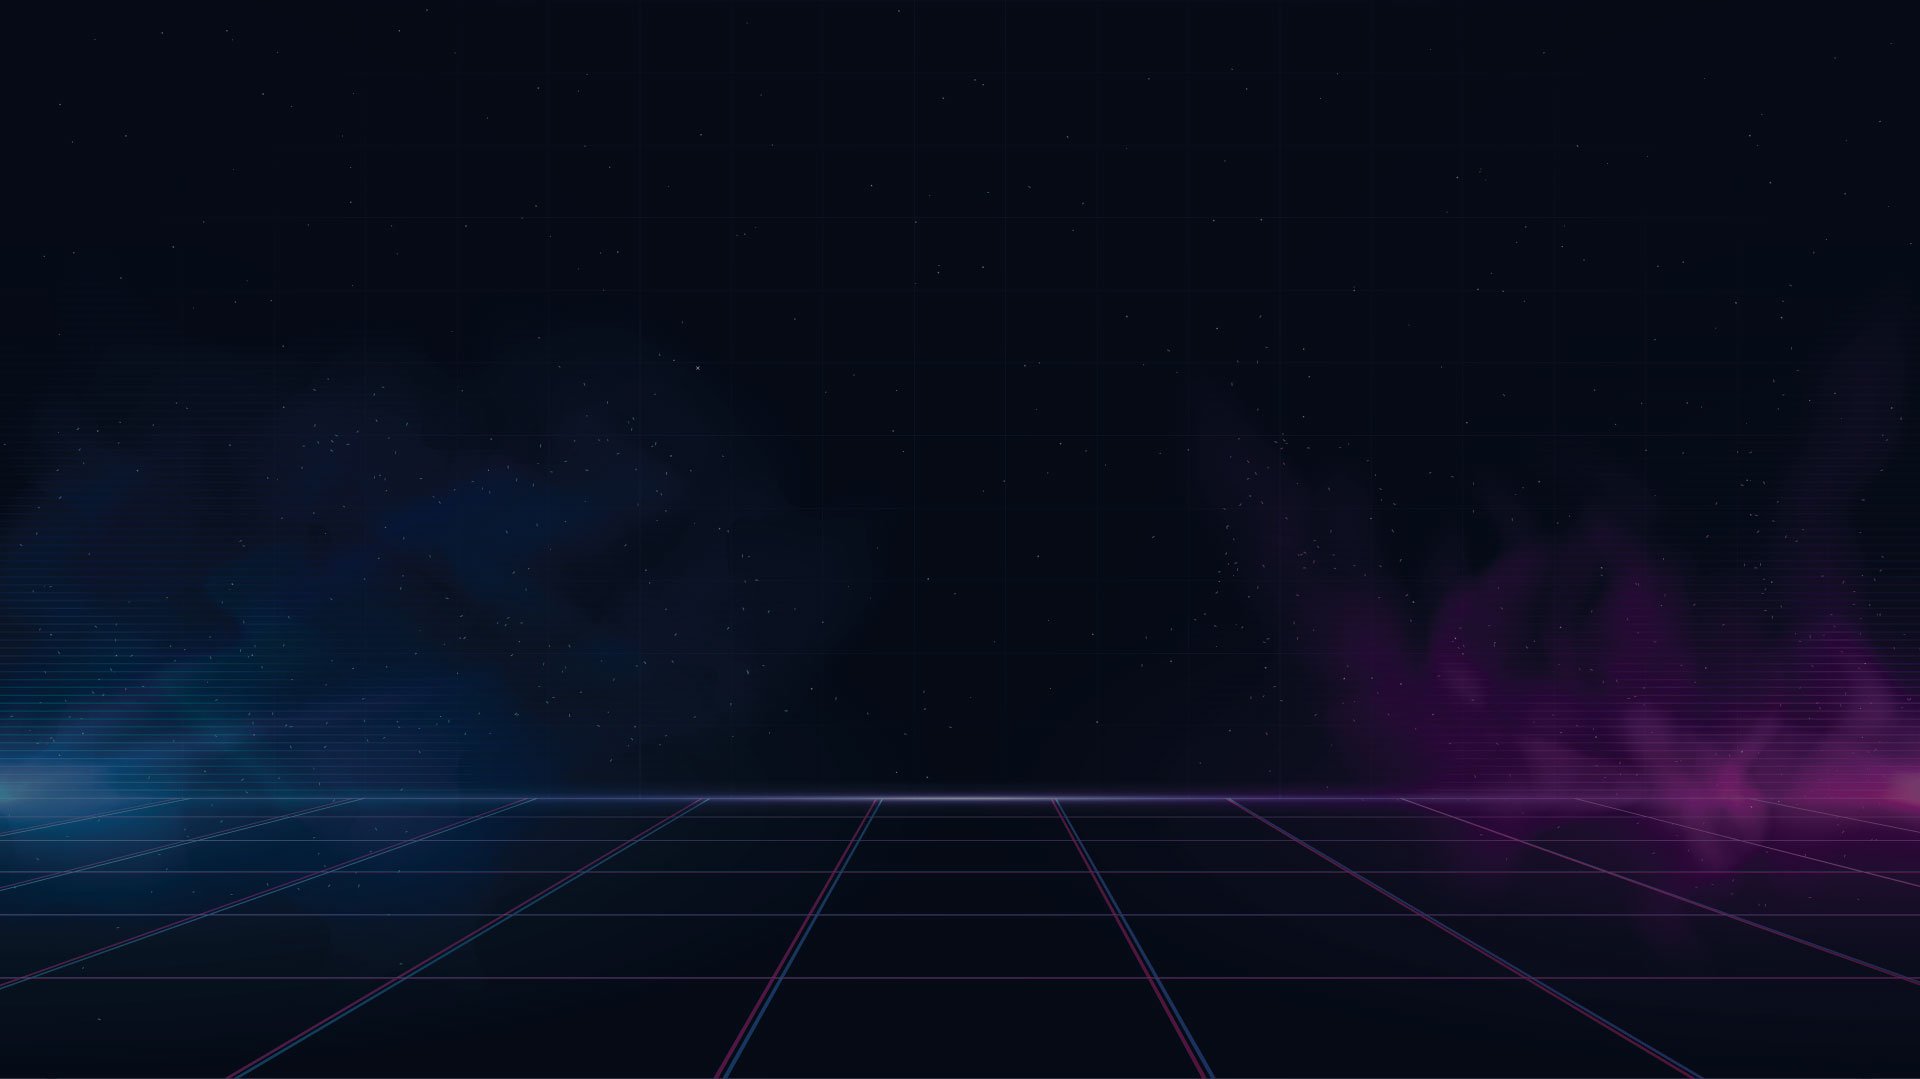
![More information about "DOS Matrix - [Theme Workshop]"](//forums.cdn.launchbox.gg/monthly_2021_10/BigBox_kM4LMrQ8zg.thumb.png.d44afb8d16ba463bab9c15328eb2d1ba.png)
Version 1.1
196 downloads
DOS Matrix was built during a Theme Workshop live stream. If you are interested in creating themes, subscribe to the Unbroken Software YouTube channel. DOS Matrix A simple text based theme mimicking the old DOS setup graphics. Watch this theme being built: Watch on YouTube: https://www.youtube.com/watch?v=BUfbUEharTE Files DOS Matrix - Theme Files.zip - Drop into your \\LaunchBox\Themes folder to load into Big Box DOS Matrix - Project Files for COMMUNITY Theme Creator.zip - Drop into your \\COMMUNITY Theme Creator\My Themes Projects folder to load into the COMMUNITY Theme Creator Credits COMMUNITY Theme Creator by @y2guru. Find it here: https://forums.launchbox-app.com/files/file/2115-community-theme-creator-for-bigbox/ Subscribe to catch future live stream: https://www.youtube.com/channel/UCSIht6UXIEXIgz4eXAEShxA -
Hi @Juketsu. Thought you should know. I tried to recreate the issue but am not seeing it happen on my different builds. Not sure what your solution could be, could be something particular with your machine. Not sure if it will help, but do you have any log files from when this happens?
-
The CTC doesn't yet have the new FlowVideo control, so by building it with the CTC you'll be using the old video control which does have problems when running in the marquee view. You could get around this limitation by adding a User Source element and copy and paste the FlowVideo code into that.
-
See what happens if you delete: GameMarqueeView.xaml From this folder: LaunchBox\Themes\CoinOP\Views
-

Arcade not showing up in associated platforms of RetroArch
faeran replied to songoku252's topic in Emulation
Hi @songoku252. At the bottom of that list you will see a blank row where you can add Arcade. -
Few things that may cause this type of issue: If you run LaunchBox off of an external drive, network drive, or any drive that is not formatted to NTFS or a comparable file system that is able to handle symlinks. You don't own and/or have full permissions of the LaunchBox folder - You can check this by right clicking LaunchBox, choosing Properties, In the Security tab choose Advanced. Running LaunchBox or Big Box as admin - elevated privileges (make sure you don't do this) Hard drive data corruption could also cause this behavior - Open cmd (as an admin) and run an sfc /scannow command
-
Yup, you can make them show up in the main platform wheel by right clicking the Playlist, choose Edit. Then in the Details tab, check off "Include this Playlist with Platforms" You can also click on the Parents tab and add them to any of your Platform Categories hierarchy as well.
-
If you want to have the same game listed in 2 separate platforms, then importing twice would be the way to go as long as you make sure you check off "force import duplicate game". However, based on what you seem to be trying to do, it would probably make more sense to have a Gun Games playlist that you assign all your gun games to, no matter which platform they were made for.
-
Hi @Gef. I don't believe there's a way to trigger background music only when Attract Mode is running. However, you can have background music playing on a per-platform/playlist basis by placing music files within your LaunchBox\Music\Background folder If you'd like to make a feature request, click on the Help & Support link at the top and choose Request a Feature (Don't forget to vote for your own request).
-
Make sure you select all your games, run the Download Metadata and Media wizard, and choose the recommend option "Yes, but do not replace any existing fields or media"
-
Can you check whether the pause screen is showing up behind your other screens? You can check this if you initiate the pause screen and then alt-tab to check whether it's one of the tabs. On another note, you could try and check the option "Forceful pause screen Activation (enable this if the pause screen is not showing)", which can be found in LaunchBox, Tools > Manage Emulators > [edit the emulator you are having issues with] > Pause Screen
-
Hi @Rob_G. The sorting of the Platform Category in both LaunchBox and BigBox should be identical, both being alphabetical by default. I do know that you can change the sorting in LaunchBox by inputting a Sort Title name into either a platform or playlist, but it doesn't sound like that's what's going on here. WIthin Big Box are you seeing this behavior when browsing through your Platform Categories filter? and which theme are you using?
-
Click the Contact Us link at the bottom of this form and send an email to support.
-
That's really awesome @Huntsmiester. Thanks for sharing.
-
Like what @Belgarath said, just based on your response, you are using the Battle.net edition and not the original WarCraft II Tides of Darkness DOS game. Pretty sure this is a windows game, probably was originally made for Windows 98.
-
Hi @Aiwer. The latest version of LaunchBox is currently 12.1, so I assume this is the version that you are on. Are you using the COMMUNITY Theme Creator to create a platform marquee view or did you delve into the code and add a video to your platform marquee view?
-
Tried this specific game and was able to install it. Let me know if these steps work for you: In LaunchBox select Tools > Install DOS Game Type in the name of the game a select Next Select "No, I have the installation files or media for my game" Select "Inside a CD Image ISO or BIN/CUE files" Browse to where you have your BIN/CUE files and choose the CUE file, select Next Use the default game location or choose your own, then select Next Choose "Yes, automatically mount the CD (recommended)" Choose "No, do not copy to the destination folder" That let me mount the game properly and get through the installation steps. Hope that works for you.
-
As @C-Beats mentioned. You can choose the opposite filter so that it shows the games that are not installed (instead of the ones that are). Then you can select them all and choose delete. That will remove the games that are not installed and keep the ones that are.
-
Hi @hadokenpower, Do you remember which theme you were trying to run in your screenshot?
-
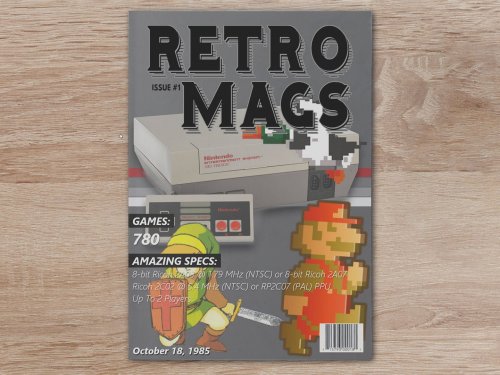
![More information about "Marquee Example - [Theme Workshop]"](//forums.cdn.launchbox.gg/monthly_2021_10/BigBox_I2dUlMqQ6b.thumb.jpg.11ab5a586b48407e2338581974adad49.jpg)
Version 1.0
194 downloads
Marquee Example was built during a Theme Workshop live stream. If you are interested in creating themes, subscribe to the Unbroken Software YouTube channel. Marquee Example There are 2 files that you can download to help learn about the new Games Marquee view that's available from LaunchBox 12.0, which can be used freely for any theme developer to use as a starting point to learn how to build their own fantastic Marquee screens. Marquee Example - 1.0.zip - The contents can be used to load up into the COMMUNITY Theme Creator, and is free to add to any of your themes. GameMarqueeView - With Comments.zip - This is the same as the default GameMarqueeView with added comments to help you understand how the view is built. You can use this file as a guide while watching the first part of the live stream video, for educational purposes. Watch this theme being built: Watch on YouTube: https://www.youtube.com/watch?v=vojvY0qLLuk Credits COMMUNITY Theme Creator by @y2guru. Find it here: https://forums.launchbox-app.com/files/file/2115-community-theme-creator-for-bigbox/ Subscribe to catch future live stream: https://www.youtube.com/channel/UCSIht6UXIEXIgz4eXAEShxA -
Marquee Example - [Theme Workshop] View File Marquee Example was built during a Theme Workshop live stream. If you are interested in creating themes, subscribe to the Unbroken Software YouTube channel. Marquee Example There are 2 files that you can download to help learn about the new Games Marquee view that's available from LaunchBox 12.0, which can be used freely for any theme developer to use as a starting point to learn how to build their own fantastic Marquee screens. Marquee Example - 1.0.zip - The contents can be used to load up into the COMMUNITY Theme Creator, and is free to add to any of your themes. GameMarqueeView - With Comments.zip - This is the same as the default GameMarqueeView with added comments to help you understand how the view is built. You can use this file as a guide while watching the first part of the live stream video, for educational purposes. Watch this theme being built: Watch on YouTube: https://www.youtube.com/watch?v=vojvY0qLLuk Credits COMMUNITY Theme Creator by @y2guru. Find it here: https://forums.launchbox-app.com/files/file/2115-community-theme-creator-for-bigbox/ Subscribe to catch future live stream: https://www.youtube.com/channel/UCSIht6UXIEXIgz4eXAEShxA Submitter faeran Submitted 10/12/2021 Category Big Box Custom Themes
-
Hi @starfiretbt. Depending on how the BIN file was created, they usually get created with a secondary CUE file which is needed in order to tell a program exactly how to read the contents of the BIN. What kind of game are you trying to install?
-
Hi @Colorman3605. While this is not possible in the current default theme, a custom theme could be made to accommodate this. Kind of curious, any particular reason why you would want this functionality?
-
 This should be easy enough to fix. I would just need to click on the button that will force a 16:9 screen ratio. I'm guessing the theme itself is set to stretch instead of forced. If you don't want to wait for my update, then you can go into the theme's folder: \\LaunchBox\Themes\RetroMags Find the file called: ThemeSettings.XML, open up in a text editor and change this line to "true". <Force16X9AspectRatio>false</Force16X9AspectRatio> <Force16X9AspectRatio>false</Force16X9AspectRatio>
 -
Just to add so you know all three scenarios: 1. Remove a playlist from appearing in Platform Filter in Big Box In LaunchBox, right click the playlist on the side panel, choose Edit. In Details Tab, uncheck "Include this Playlist with Platforms" 2. Remove a playlist from appearing in Platform Category filter in Big Box In LaunchBox, right click the playlist on the side panel, choose Edit, in Parents tab, uncheck all the boxes (this is also how you can place a playlist anywhere within your Platform Categories' hierarchy) 3. Remove the playlist from your library In LaunchBox, right click the playlist on the side panel, choose Delete. This will remove the playlist but not the games. The games will still be found in their platform.

![More information about "DOS Matrix - [Theme Workshop]"](http://forums.cdn.launchbox.gg/monthly_2021_10/BigBox_kM4LMrQ8zg.thumb.png.d44afb8d16ba463bab9c15328eb2d1ba.png)


![More information about "Marquee Example - [Theme Workshop]"](http://forums.cdn.launchbox.gg/monthly_2021_10/BigBox_I2dUlMqQ6b.thumb.jpg.11ab5a586b48407e2338581974adad49.jpg)
